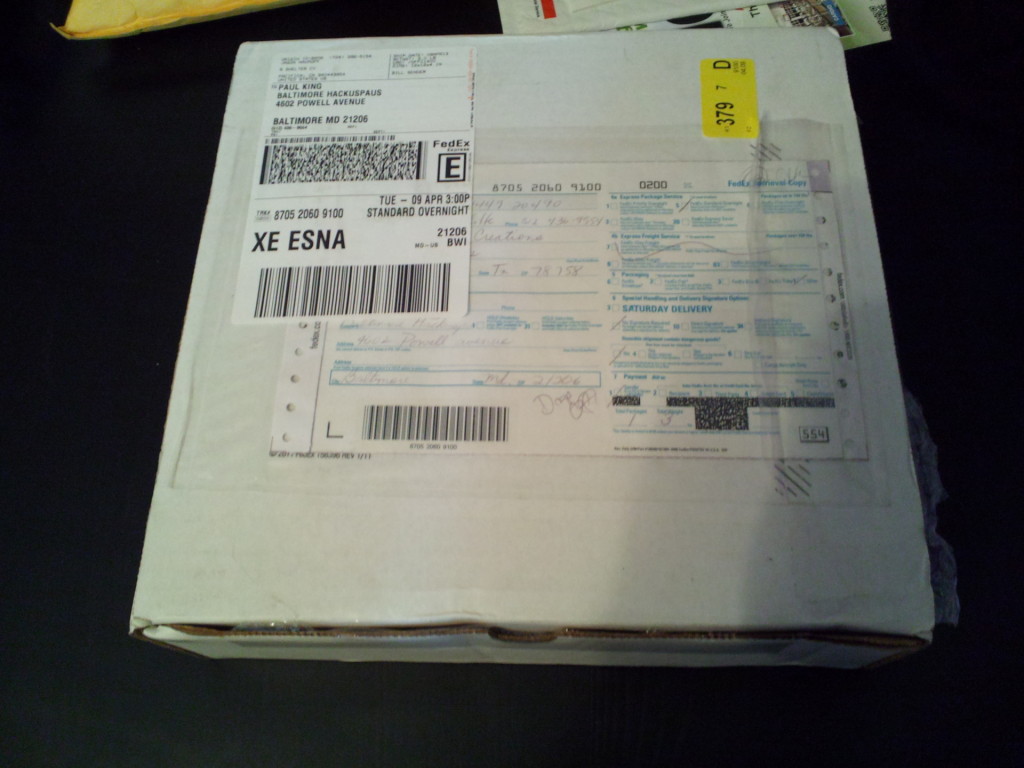
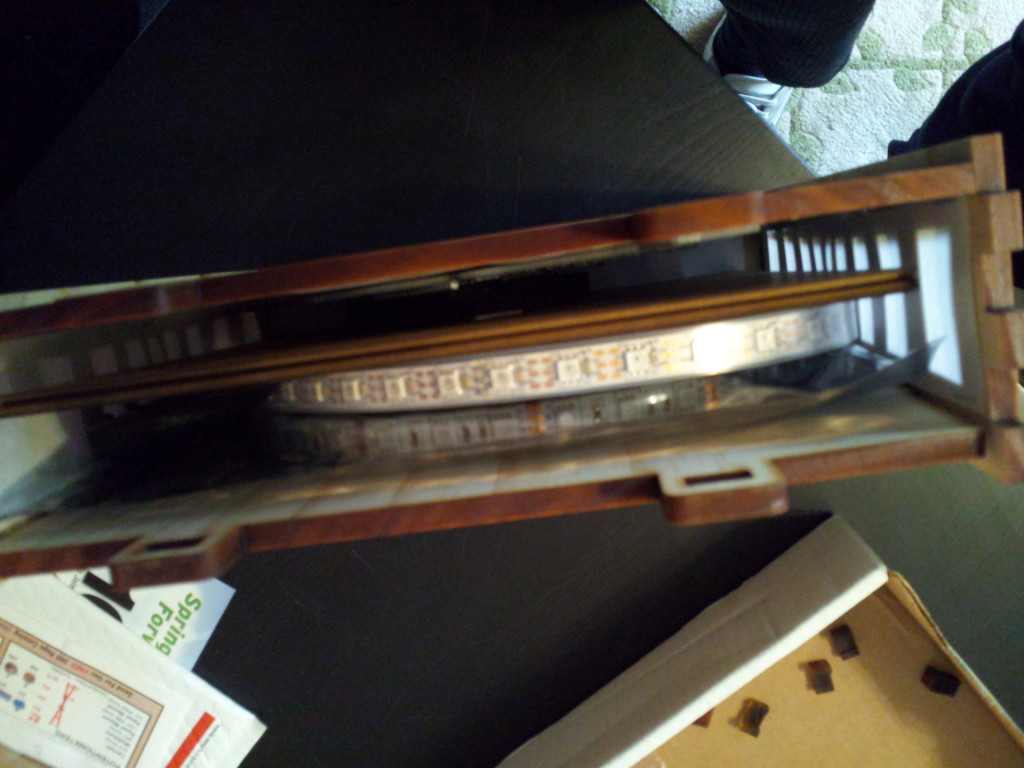
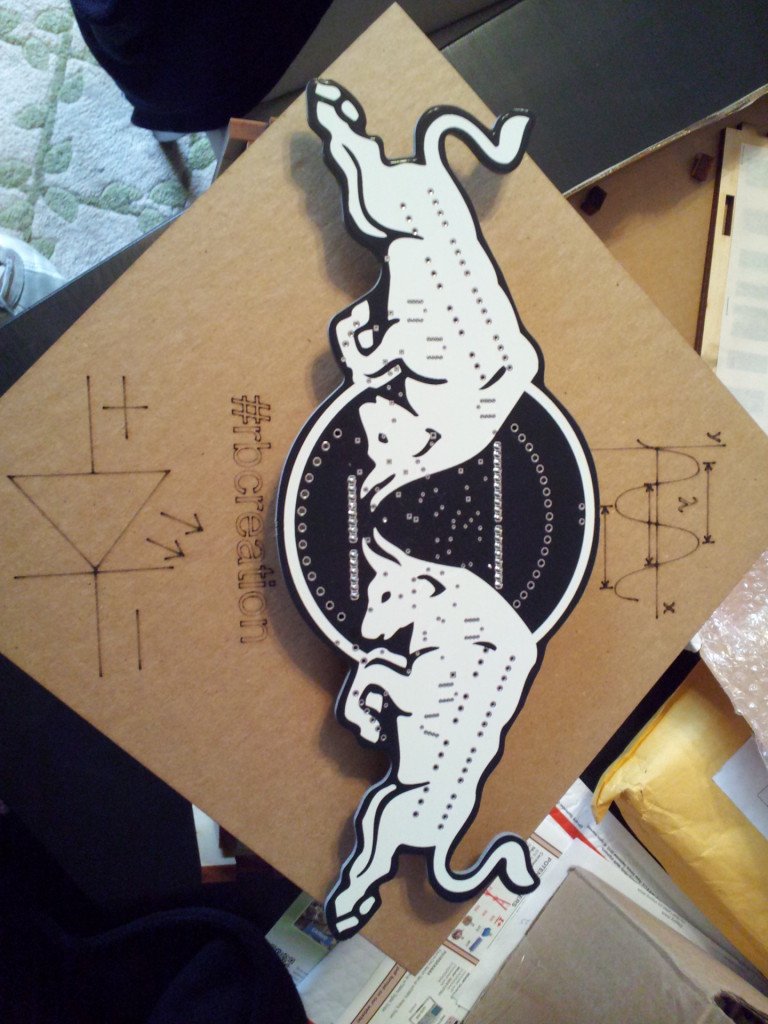
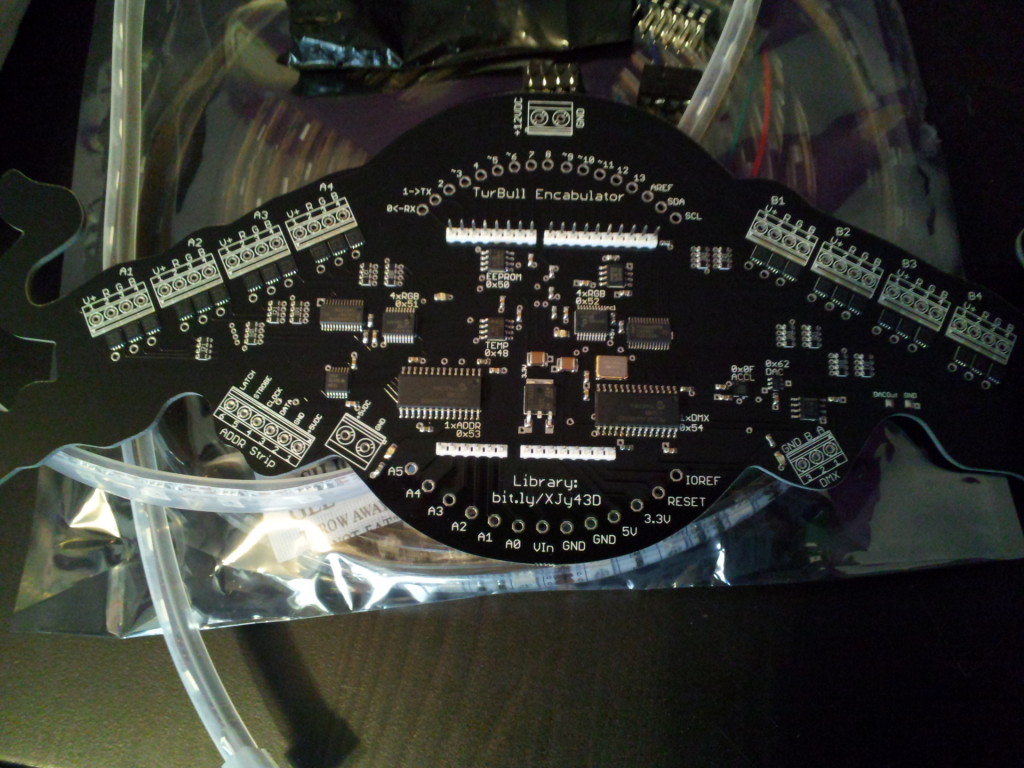
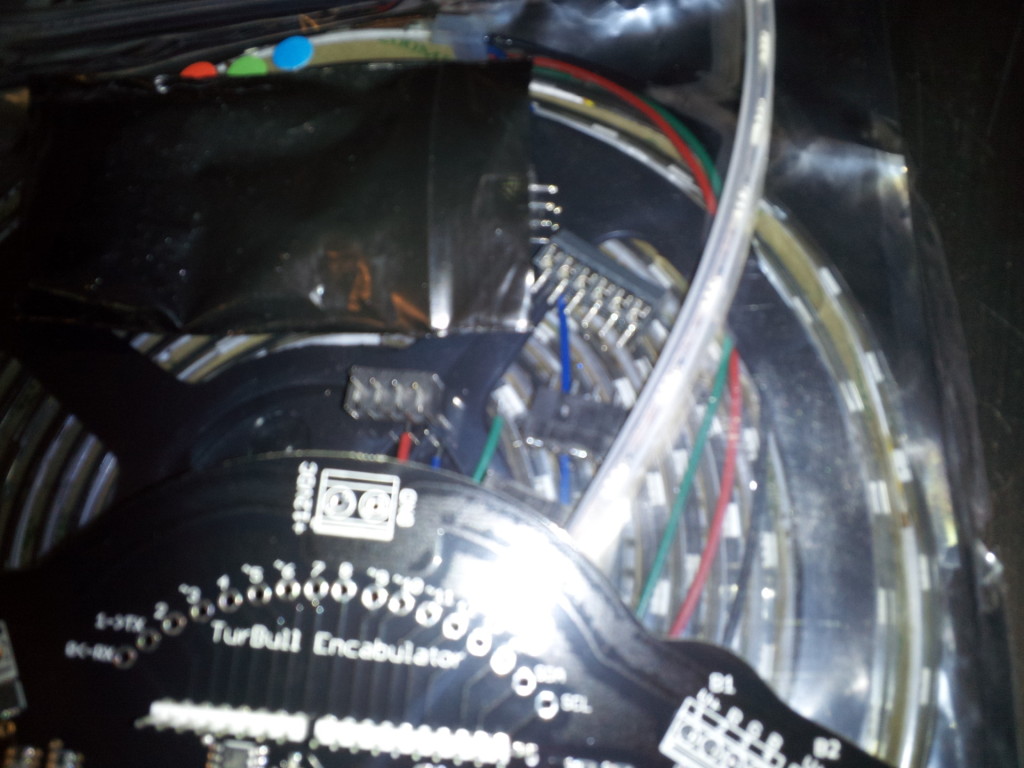
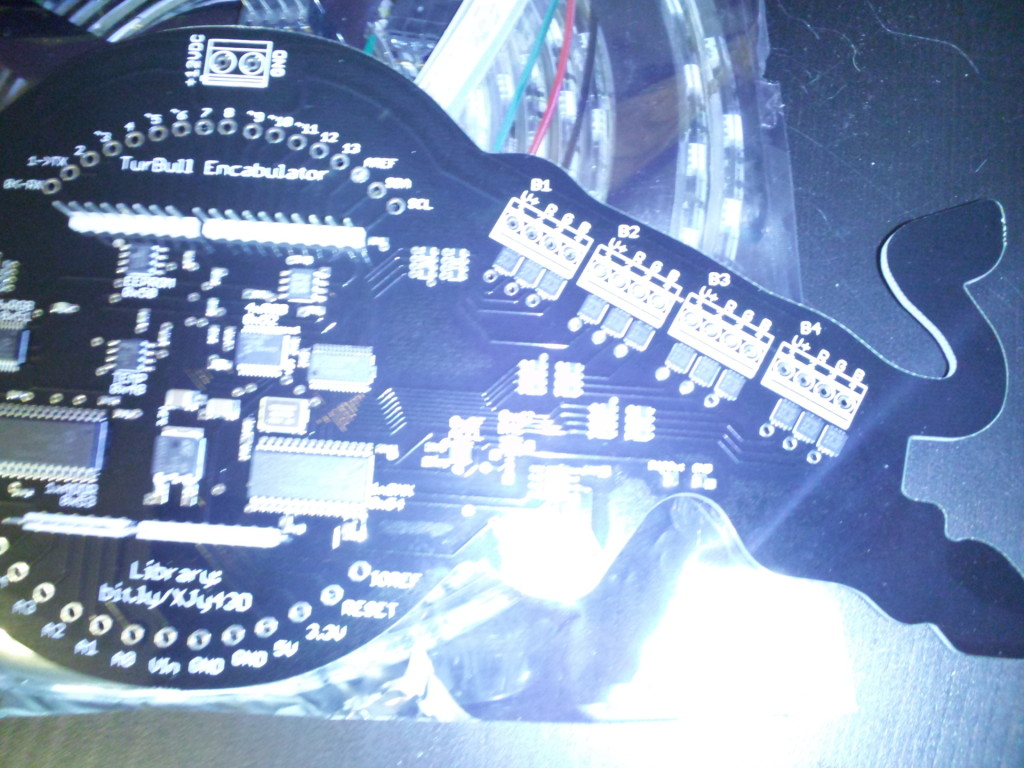
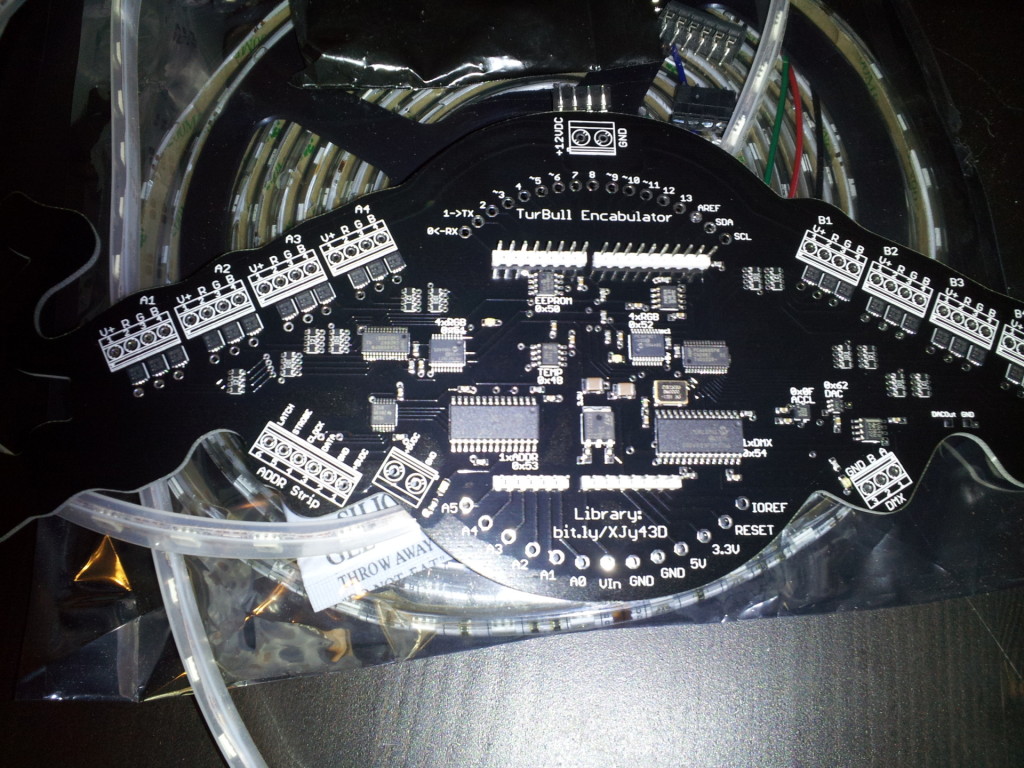
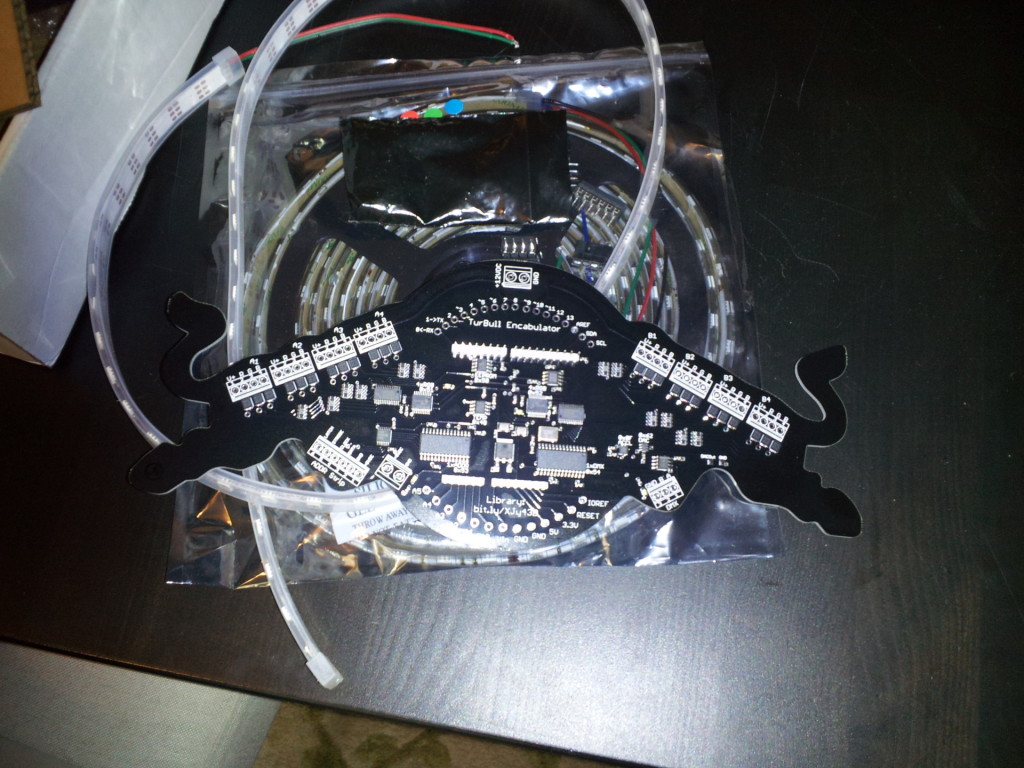
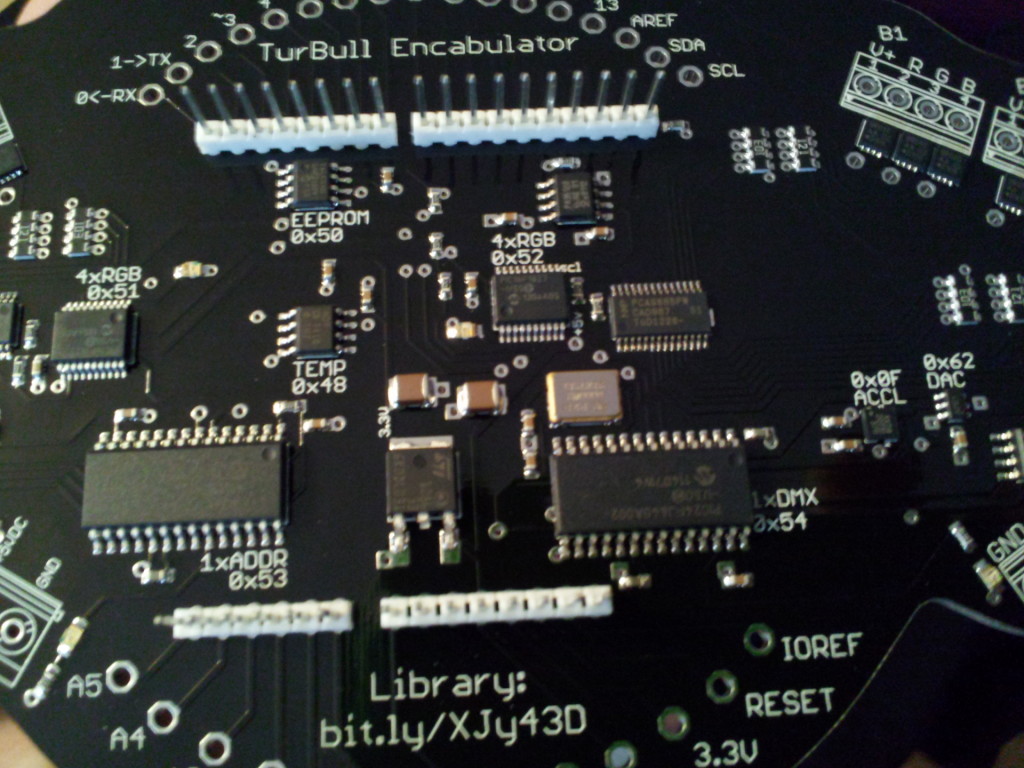
So it’s that time again, time for Redbull Creation, 3rd year. I’ll make this short, just got the box, wanted to show some pics. Here’s what we got for the qualifier, our TurBull Encabulator. We’ll have updates on this later I’m sure. You may remember our entry last year, the telepresence zen garden, and our year 1 entry with crank’d and we went to the finals with that entry, where we built the chill-a-piller.
Lot’s of LED’s for the qualifier this year, maybe an accelerometer. Need more time to dive deep. Have fun with the pics.
You must register for this class on Meetup; Limited seating available.
Wednesday, April 17, 2013
You will learn:
How to use a breadboard
What capacitors are
How to use capacitors for filtering power
How to use capacitors for basic debounce/timing circuits
Connect a 555 timer circuit for blinking an LED
This will require the purchase of a breadboard and some more expensive parts that last time (I’m thinking it will be about $15 — I may need to adjust this after I buy the parts). I will bulk-order and get everyone more parts that you need.
700pt breadboard (Like this: )
A few voltage regulators (LM317, 7805) in TO-220 packages
A few 555 timers (DIP-8)
A couple potentiometers (5k, 10k, linear taper)
More resistors (assortment)
Some capacitors (.1uF, 1uF, 10uF)
etc.
I’ll update this as I develop the slides.
You will need to bring:
1 power supply – can be a wall transformer that is between 9 and 15 VDC and greater than 200mA output. You should be able to salvage on of these from any number of places.
The parts kit from the last class (need the resistors, LEDs, and multimeter from it) or you can buy a kit for $5 (we may not have more multimeters available if you wait too long)
Either $15 or all of the parts that I listed in the parts section above.
My Solidoodle 3 printer finally came in last week and I was able to pretty much plug it in and start printing. I immediately noticed that something needed to be done about the filament spool. With it being a new spool, the filament was just falling off at the slightest turn on the PVC holder which was really annoying because that meant I had to babysit it. So with a small filament holder I found on thingiverse and some old folders, I was able to come up with a solution that allows me to hit ‘print’ and then just walk away until my print is done.
Here are the slides from the class: BasicElectronics_1_20130320 . Note: We are preparing a follow up class that dives further into the subject. Please keep an eye out for the announcement.
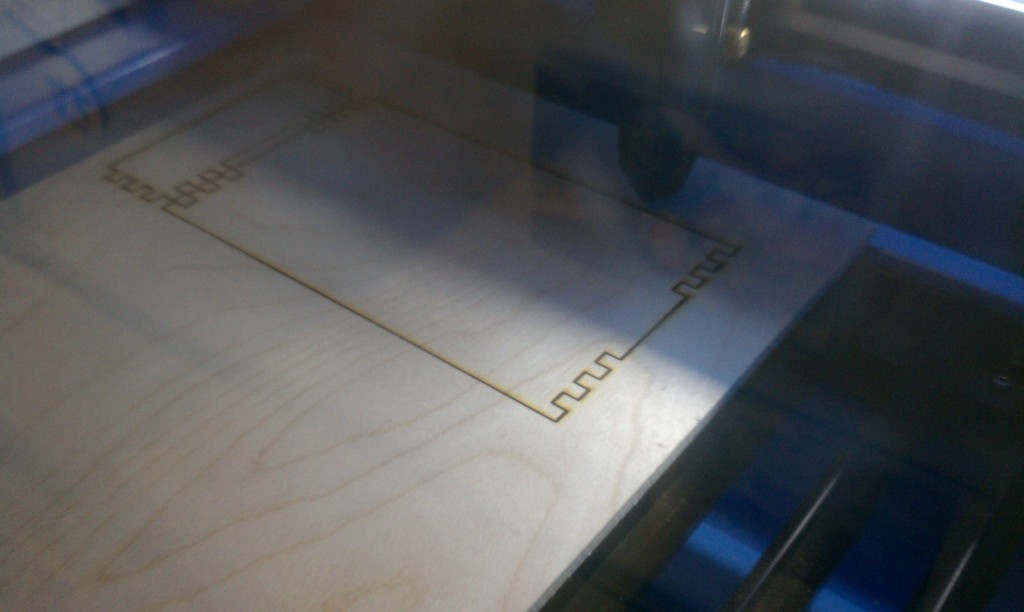
A few weeks ago one of our members (Mike) picked up the RedSaid X700 Laser Engraver from ebay. Ordering and shipping of the engraver turned out to be a lot of trouble and very expensive.
Mike spent a few days soldering wires to the laser tube, aligning the mirrors and doing a few test cuts on various materials we had laying around the shop. Then he turned the machine loose for the rest of us to play with.
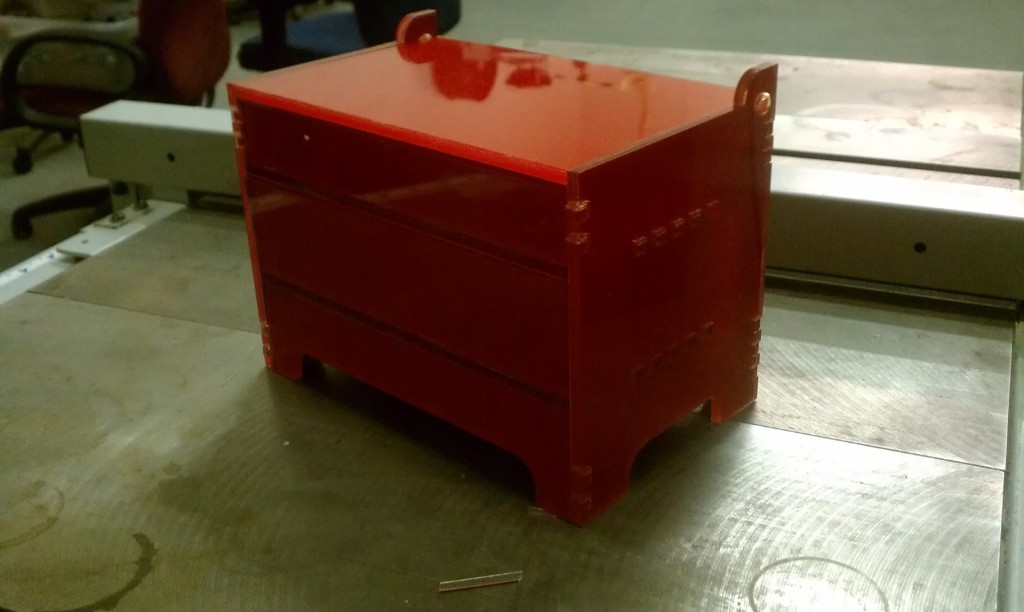
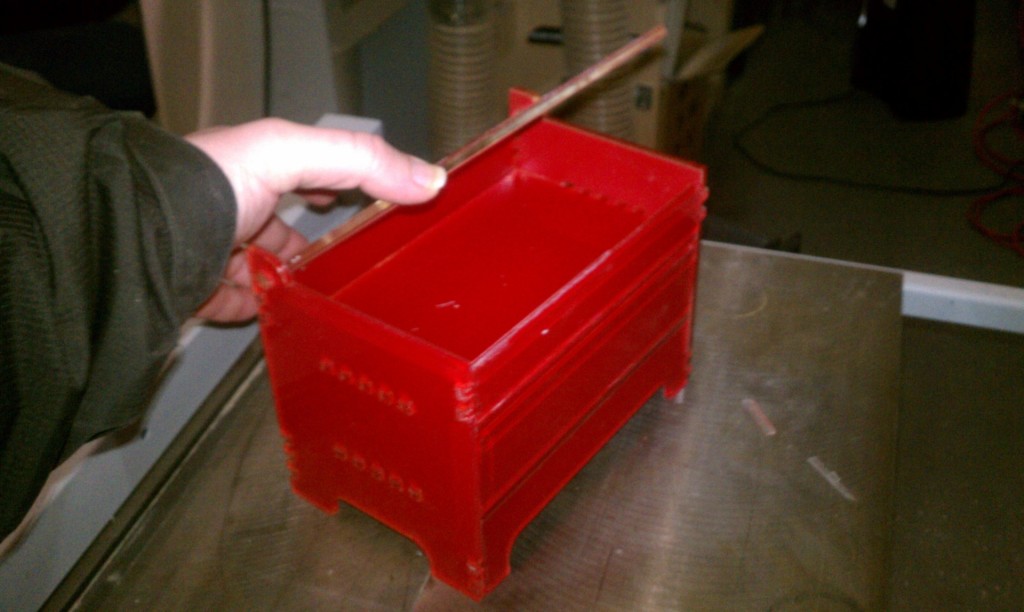
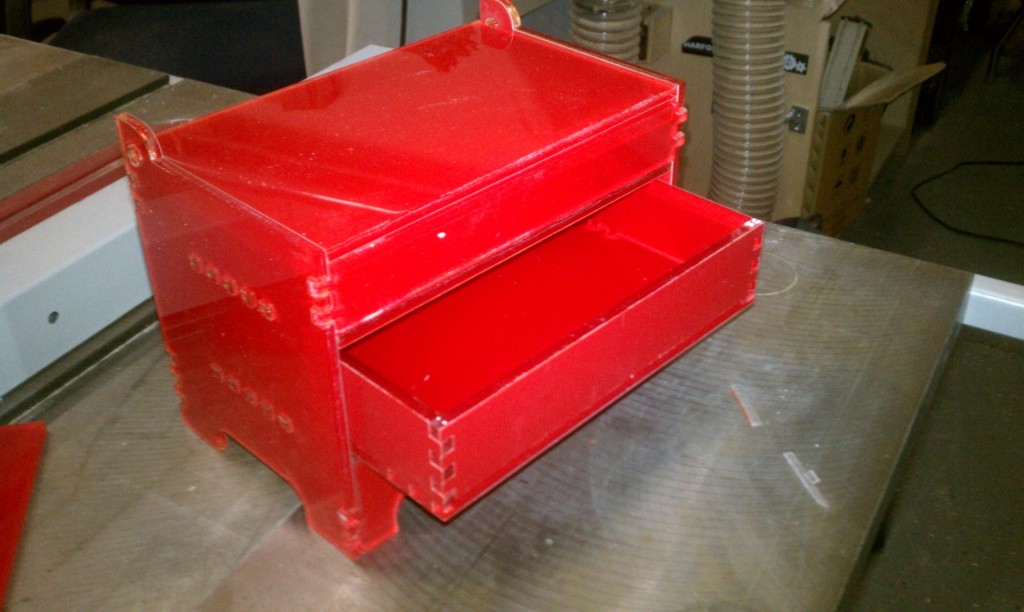
I decided that I wanted to make a gift for my daughter so I used SolidWorks to draw a Jewelry Box and then exported the files as DXF 2D Drawings. These were then imported into LaserMate which is software that came with the laser engraver.
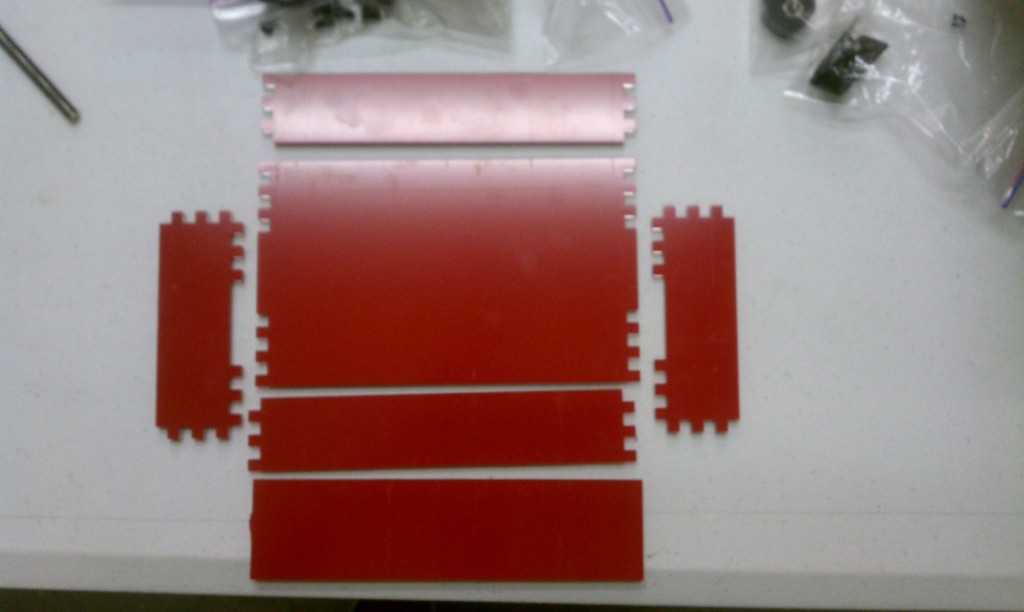
I designed the Jewelry Box to use 1/4″ Material. It turns out that the Birch wood and Acrylic from Home Depot says 1/4″ (5.2mm) but if you do the math a 1/4″ is not 5.2mm. So that material we had laying around the shop was not going to work for me.
Luckily, another member of ours had left over scraps of 1/4″ Baltic Birch which he purchases locally from Woodcraft. I attempted cutting this wood but even at 100% Power, 2mm/s speed, and 4 passes I was unable to cut consistently all the way through the wood. Also, this wood is rather expensive. So I decided to look for other materials which I thought would cut easier but was still 1/4″ thick.
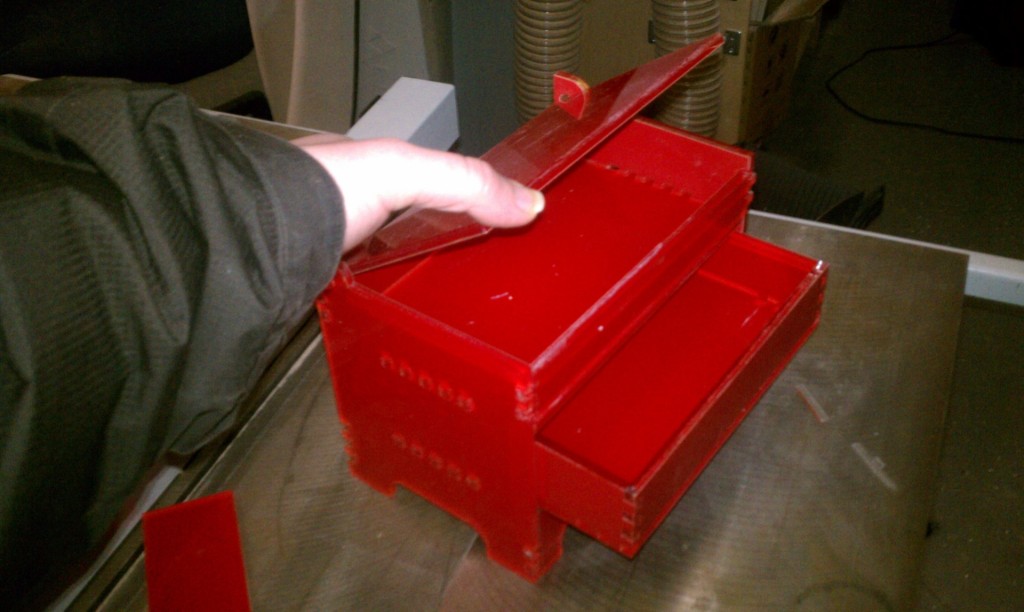
I learned about a place called Total Plastics, Inc. located on Pulaski Highway through Terry Kilby. I stopped by their showroom and the nice man behind the counter gave me a piece of 1.4″ Cast Acrylic which was painted red on one side. I cut test patterns on this acrylic and I was surprised to find that was not cutting much better than the Baltic Birch. After roughly 10 hours of cutting pass after pass I was eventually able to make a Jewelry Box from the Acrylic.
I have come to the conclusion that the laser cutter needs some tweaking. It seems that the top left corner cuts okay but as you move down and to the right of the cutting area the laser is not as powerful. My guess is that it has to do with the alignment of the mirrors but I have not looked into the problem yet.
After many hours of work I present to you my Jewelry Box.