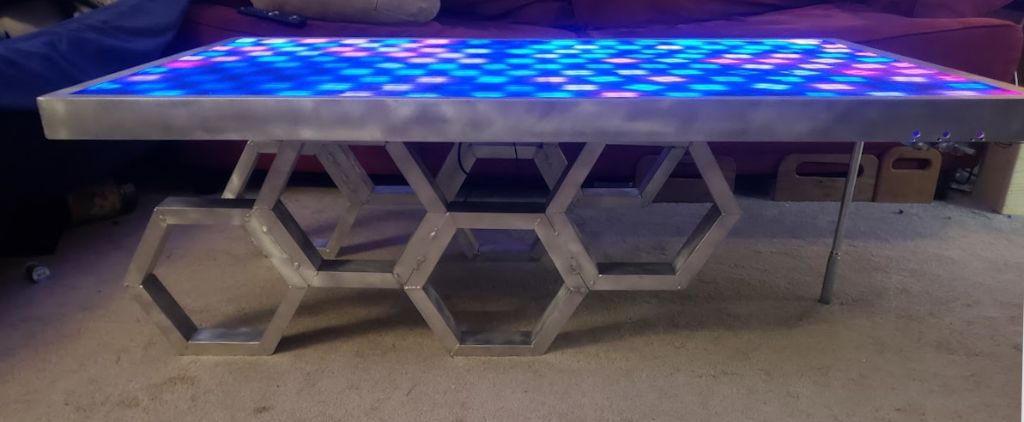
The Game of Life Coffee Table
About a year ago, we were smashing up a TV with Mammoth (video) and I fell in love with the look of the broken LCD, and decided to make it into a table-top. Despite veering wildly offcourse throughout this build – and using almost none of the original parts – that carnage set this project underway.
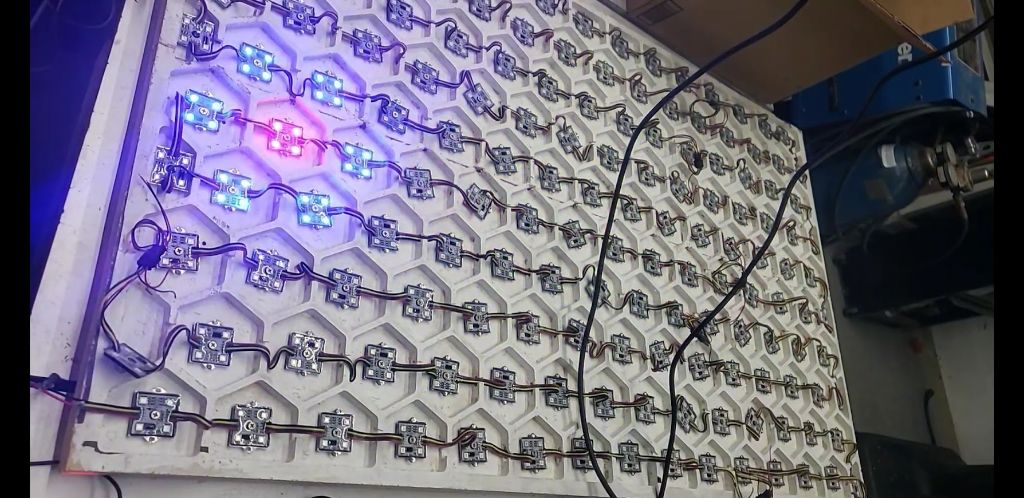
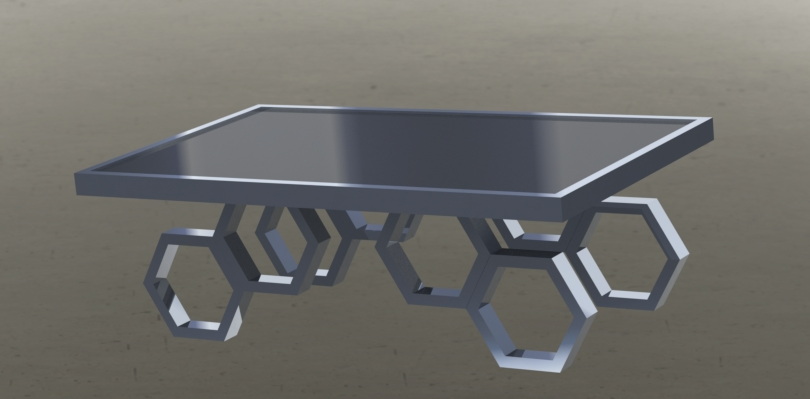
First step was to CNC the base, an array of hexagons to serve as cells beneath the surface. You might think the first step would be to figure out what the end product would look like… but nah. I knew I wanted some multicolored lighting, and hexagons make a cool pattern, might as well start. Plus, it was a fun excuse to play with the CNC.

Then I painted this array, and added WS2811 LED modules (link, but you can find them cheaper elsewhere – search for “36mm ws2811”) to each cell:
After that, it was time to program. This was definitely the most fun portion of the project. I started with Conway’s Game of Life – but Conway’s Game of Life is only played on a square grid, and I chose to use hexagons. Additionally, CGOL uses binary states – a cell is either on or off. Purely because it looks cool, I wanted to use an analog state so I could blend between colors. So I designed a new version, aiming for a system that wouldn’t reach any steady-states, and the rules are as follows:
That’s it. Very simple concept, but the implementation is a little bit trickier, especially on an Arduino. The small micro size means we need to optimize for both speed and memory. The first issue I found is there wasn’t enough room in RAM to hold the addresses of all the neighbors. The massive 6×150 byte array – essential so cells know who their neighbors are – has to be stored in flash memory. Once you figure out the keywords that the Arduino IDE wants, this is pretty simple:
const static PROGMEM byte neighborArray[][6]
And then to access those bytes:
memcpy_P(localNeighbors, neighborArray[i], 6);
There should be shortcuts to access those values directly… but there aren’t, at least not for bytes. Just copy them into a temporary array whenever you need to read them and save yourself a lot of headaches.
Memory issues solved! Onto the speed problem. There are two main portions of the program: Display and Calculation. During the display phase, the speed was fine, I even had to add delays to get the right fade between the previous state and the current state. But during the calculation phase, the program would visibly lag and interrupt the smooth flow of the display phase. To start with the obvious optimizations, I used simple byte math. Addition, subtraction, and bit-shifts. Very little multiplication and never any division. But optimizing the math wasn’t enough, and we had to get tricky. Instead of calculating the next state for the whole array at once, I only calculated 5 new cells at a time. By increasing the steps in the display-phase fade to 30, I was able to replace the display-phase delays with these calculations. This meant that I could continuously calculate the next array while animating the previous change, eliminating the stutter from my program. This made it a little harder to track the current state of anything, but nothing a few extra arrays couldn’t fix.
After that, it was onto aesthetics. How do we translate a byte into a 3-byte color in a way that looks good. The simple version is: 1-125 directly increased the blue value of the color, and then 125-255 decreased the blue value while increasing the red value.
The complicated version involves an analog input to choose a starting color between blue and green, and then a tweaking the brightnesses because LEDs get brighter linearly as the PWM increases, but your eye will perceive brightness logarithmically (an LED with twice the current only appears 150% brighter). Luckily, we don’t have to actually do that math, we can just fake it by getting brighter slowly for the low values and quickly for the high values. To say this in a nerdy way with lots of math:
//create a color between oldstate and newStateTemp, stepped by phase
//30 phases per change
uint32_t StateToColor(float oldstate, float newState, float phase)
{
byte interstate=oldstate+phase*((newState-oldstate)/30);
//if are <75, fade up blue/green slowly (at half rate)
if (interstate < 75) {
//colorfade(colorcomponent,brightness) is %colorcomponent * state, with speed optimizations, and overflow protection to make sure it’s a byte.
return Color(0,colorfade(color1g,interstate>>1),colorfade(color1b,interstate>>1));
}
//75-125, fade up blue/green faster (at full rate, but account for the earlier slowness so there’s not a visible step)
if (interstate < 125) {
return Color(0,colorfade(color1g,interstate-37),colorfade(color1b,interstate-37));
}
//125+, fade out blue/green and fade in red.
//fade in red doubly fast because it has 125-255 to go from 0-255
//fade in red slightly faster than that to max out red early
//so it doesn’t immediately disappear when it dies next round.
int adjColor=(250-interstate-45);
if (adjColor<0){ adjColor=0; }
int adjColor2=2.2*(interstate-125);
if (adjColor2>255){ adjColor2=255; }
return Color(adjColor2, colorfade(color1g,adjColor), colorfade(color1b,adjColor));
}
The surface is made of a sheet of plexi to hold down all the wires, a layer of diffraction grating (from the murdered TV that started all this) to spread the light in an interesting manner, and then a layer of fancy semi-transparent plexi to hide the guts but allow the light to pass through.