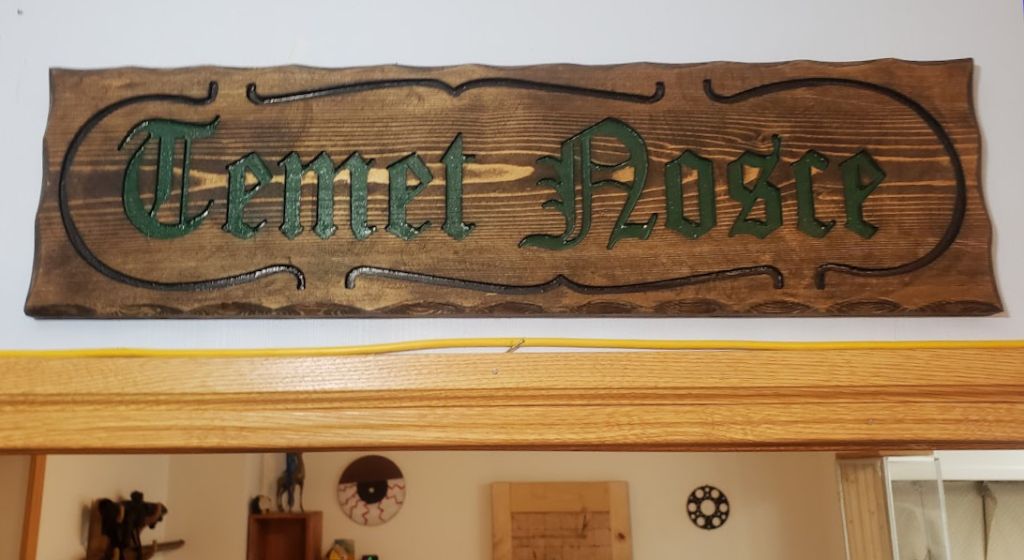
Temet Nosce
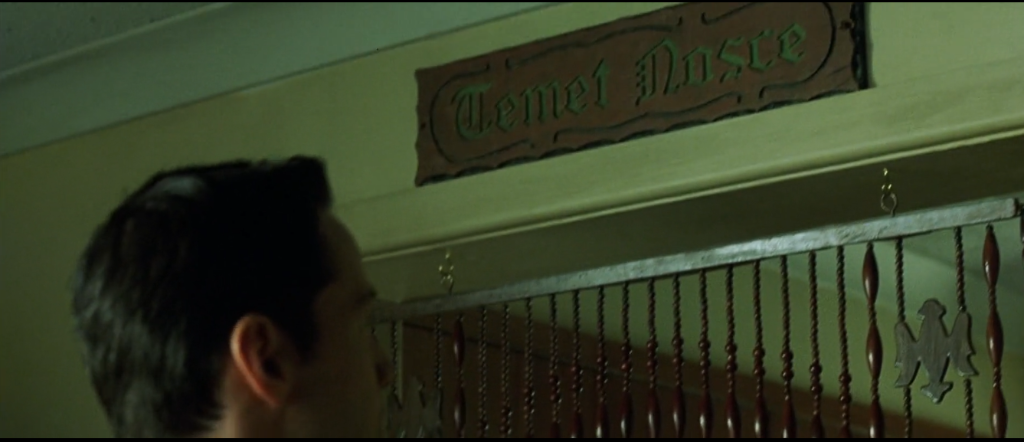
“Through and through. Balls to bones.”
Full DXF: temetnosce.dxf
Tip: Save yourself a lot of fiddly work: Paint the inlays, then sand, then stain
.

Full DXF: temetnosce.dxf
Tip: Save yourself a lot of fiddly work: Paint the inlays, then sand, then stain
.
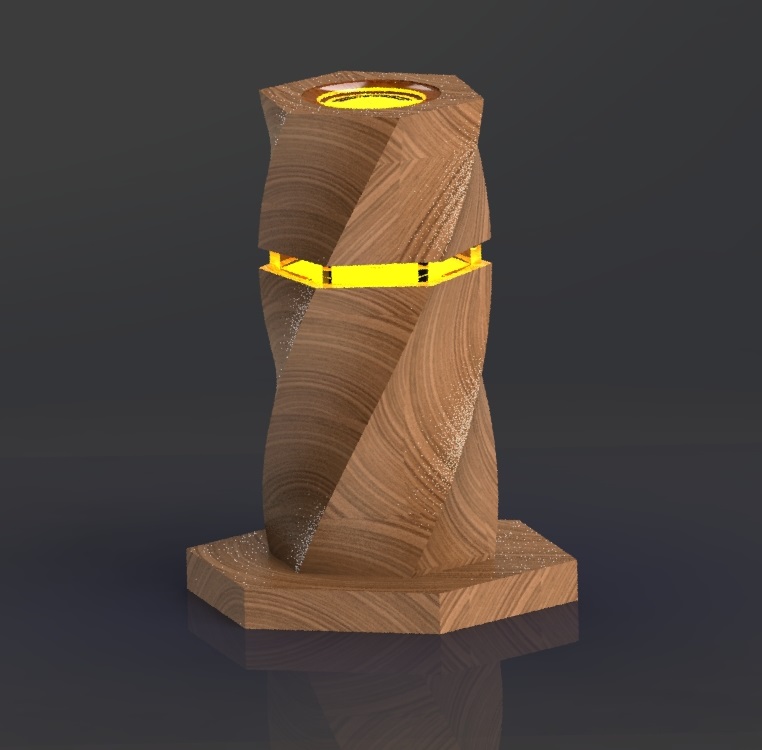
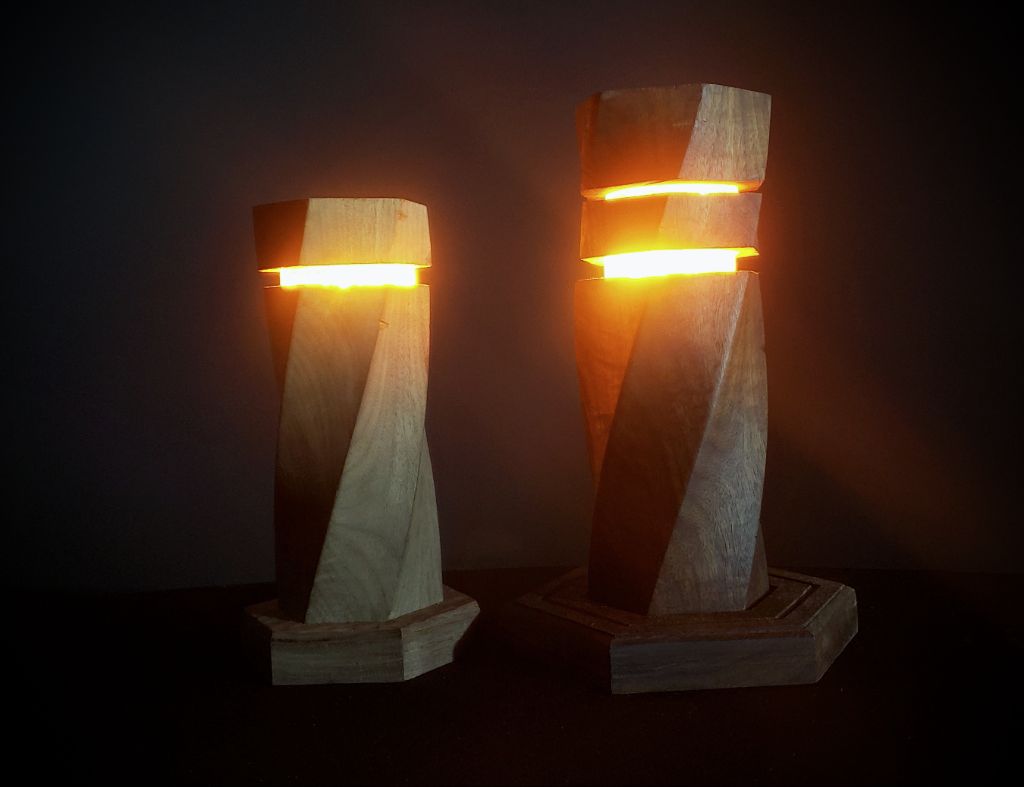
I’d designed a very cool looking accent lamp. The only problem was, this lamp needed to be milled on 6 separate sides. I considered using a rotary table and hand-milling it, but that was going to be a very tedious process, so I set about dividing it into portions that could be CNC’d three sessions.
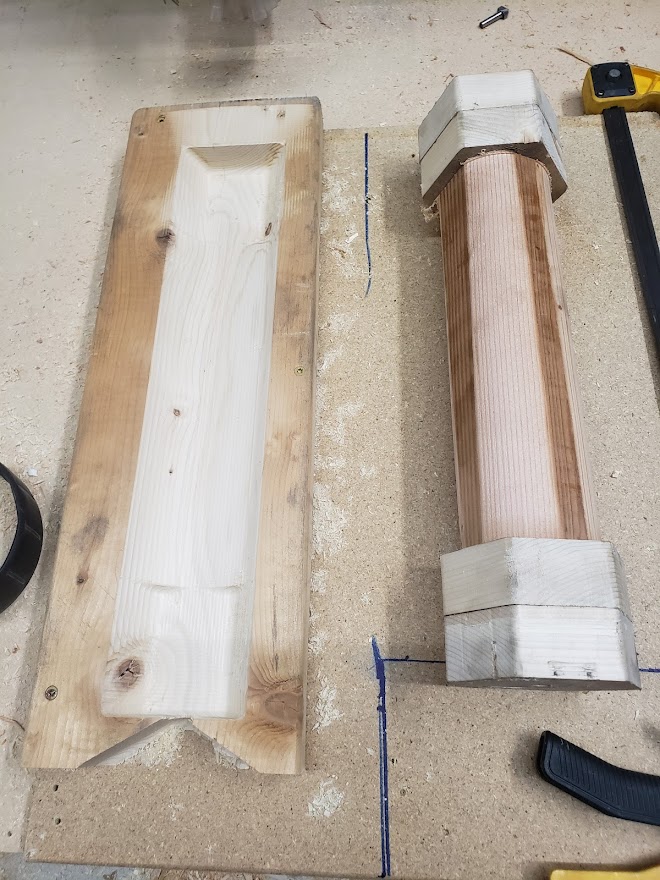
The first problem was I need to create a reliable way to index the part in a given rotation. This was solved by creating some hexagonal end-blocks, and creating a socket for the end blocks to sit in.
Now, I was able to export only the upward-facing edges and CNC those! Then I could rotate the part 120* and repeat, milling all the sides.
However, this had some problems. Testing on some scrap 4x4s showed revealed that the corners had major issues. Minor inconsistencies in placement, combined with the CNC’s desire to mill the steep near-vertical portions of the faces, resulted in a product I couldn’t be proud of. The basics of the approach were good, but had to be refined.
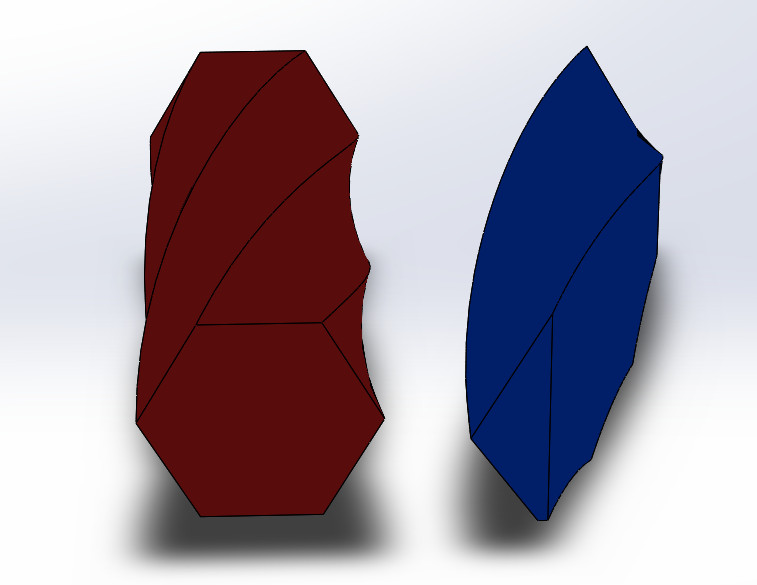
The first improvement was instead of doing the upward facing sides, I singled out one face of the twisted hexagon – and milled it in six sessions. This resulted in a far better piece, but it still had issues on the edges – I couldn’t rely on the faces lining up perfectly. After a lot of fiddling, I realized I didn’t have to limit the shape to the final shape I wanted – instead of designing the “positive” end result, I needed to design the “negative” material removal – and this material removal could overlap. I expanded the single face to the left and right, creating a “wider” face on one side of the hexagon, and isolated that new wider face. Now, when I routed this face the routing would continue off both sides of the face into free air. Instead of precisely placing the edges, I could create overlapping faces and let the edge form naturally by their intersection.
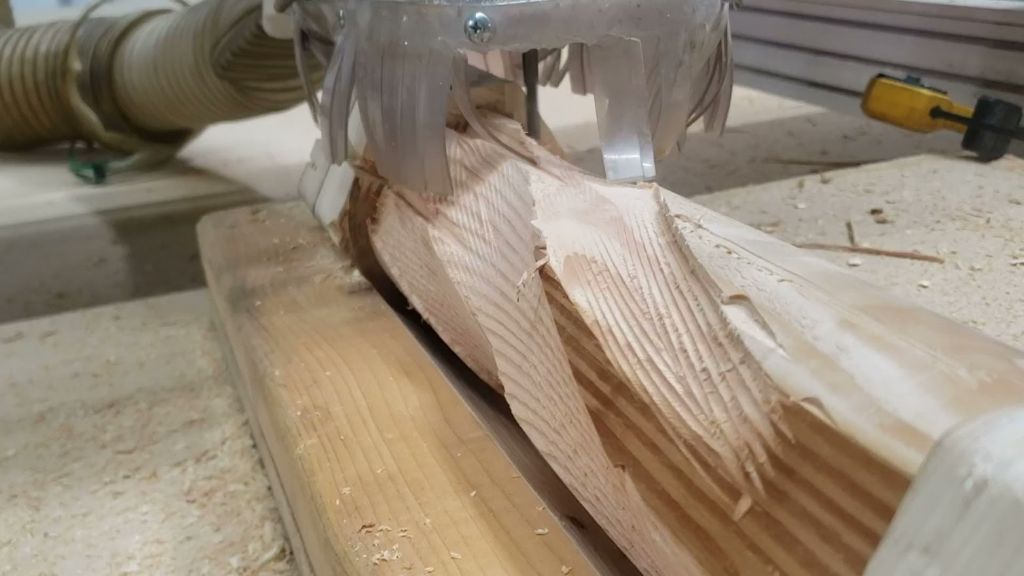
This did the trick! Although slower due to additional rotations, and many passes “removing” wood that had already been removed when milling other sides, this resulted in sharp, crisp edges that naturally followed a perfect curve down the body of the lamp.

After a lot of milling, sanding, and a trip to the local glassblower, the lamp was done! Great success, and a great learning experience.