
VCR-Head Scrollwheel

After removing all the existing electronics and wiring inside the VCR head, a dab of superglue was all it took and I now had an encoder wheel hard-mounted to the VCR head. Next step was figuring out how to hold the rest of the mouse in position to read the encoder wheel. I desoldered the buttons from the mouse to shrink the footprint, and then carved a block of foam to a shape that would fit the mouse board and support the VCR head.
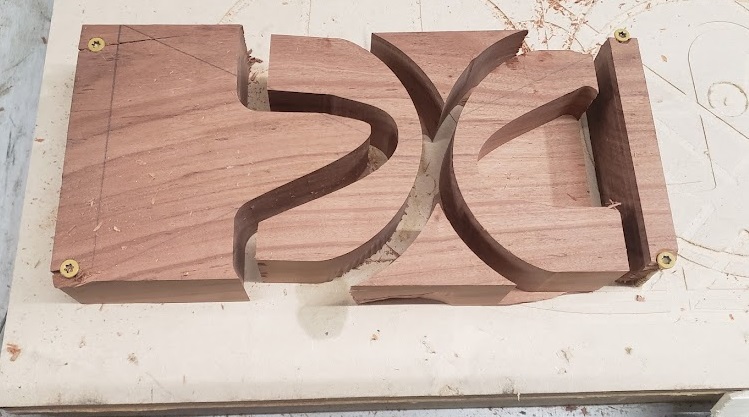
I traced the foam in cad, and then CNC’d it into a chunk of Iroko wood from our scrap hardwood pile. Again, you could do this with a router, a drillpress and a bandsaw, or even with handtools – but I took the shortcuts I had on hand. In retrospect, I should have left both ends of the pocket capped to avoid having to glue in a plate beneath the wheel, but I was making this up as I went. Then was a bunch of assembly – gluing the blocks together, a holesaw to create a recess for the wheel, routing the corners for a round-over, sanding everything, and epoxying the base of the wheel in place.
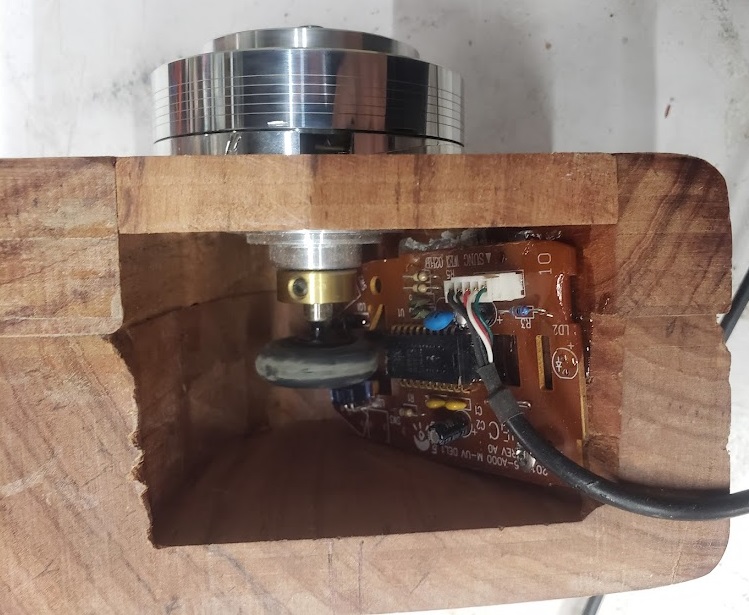
Now, all that was left was to attach the board so that the IR beam passed through the scrollwheel. I used a screw to temporarily mount the board while I tested it (and it worked great! I can scroll 7500 lines in excel with a hard flick!!). Once I established the location was good and there was no rubbing, I epoxied the board permanently in place. To finish, I added a small escape channel for the mouse wire, knotted the wire for strain relief, and finished with wax for a nice shine. And just like that, a project I’d had on my list for literally a decade was done in a weekend, and I couldn’t be more pleased with it.


You must log in to post a comment.