The copper layer thickness in a printed circuit board (PCB) is rated in ounces (also called the copper weight) or in mils (also called the copper thickness.) Both units of measurement are relaying the same information just in a slightly different format. For example, 1 oz. of copper is equivalent to 1 square foot of 1.4 mils (.0014″) thick copper.
Copper weight/thickness is important in several areas of PCB design. The thickness and width of a trace determines the amount of current (amps) the trace can carry. The thickness is also used in the calculation of trace impedance (ohms) in RF and high speed digital circuits.
The following is the formula for cpw (in oz) to thickness (in mils) conversion:
Thickness(in oz) = thickness (in mils) /1.37
The following is the formula for thickness (in mils) to cpw (in oz) conversion:
We recently moved into a 1250 square foot facility and are in the process of renovating it to suit our needs. The space is located at:
6410 Landay Ave
Baltimore, MD 21237
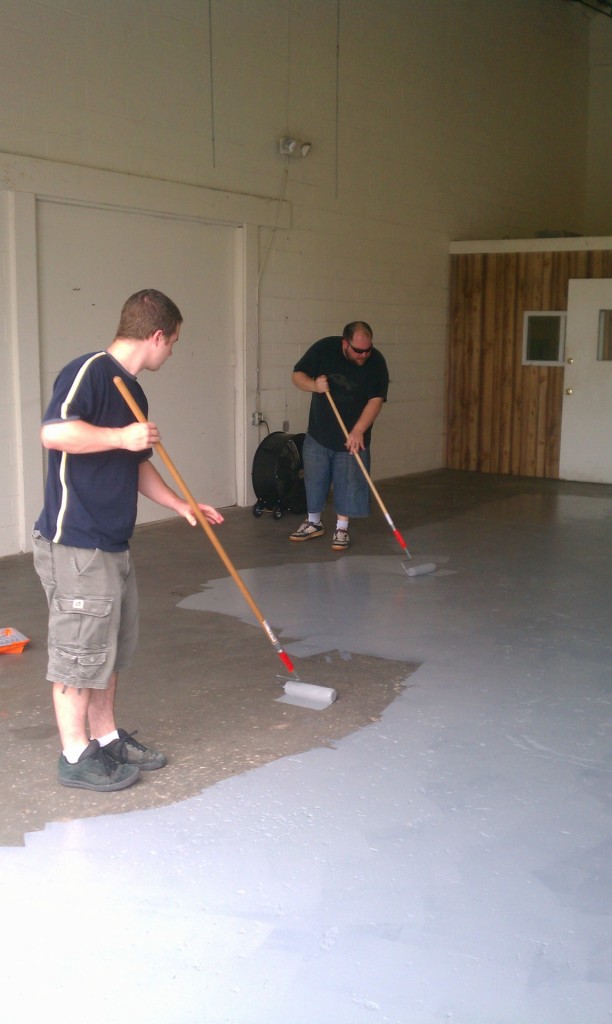
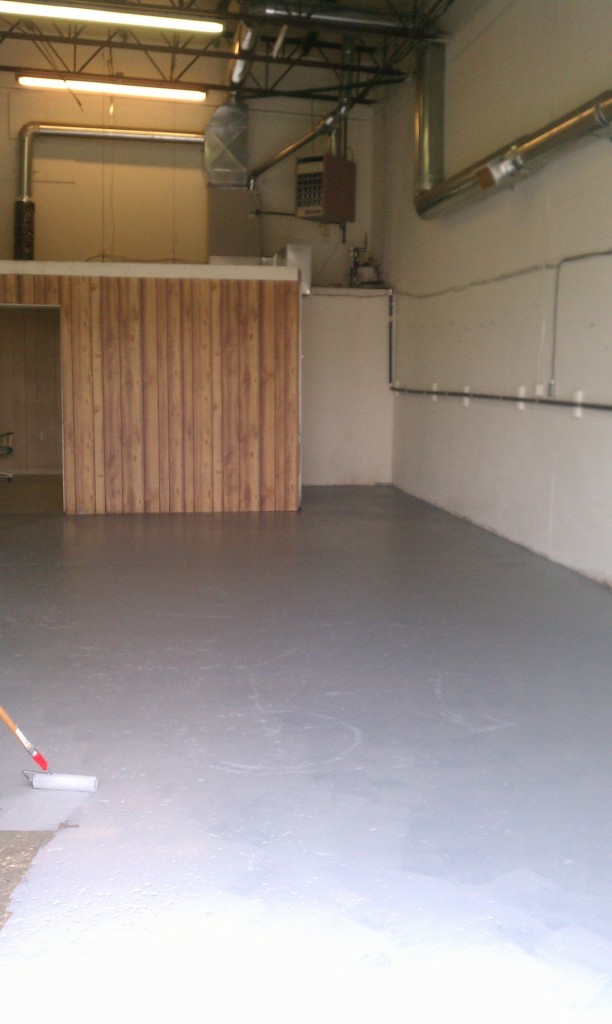
The floors were looking pretty bad when we moved in, so we gave them a vigorous cleansing using a floor buffer and a power washer. The floors still were not up to par, so we painted the floors using acrylic floor paint and then added paint flakes to really kick it up a notch.
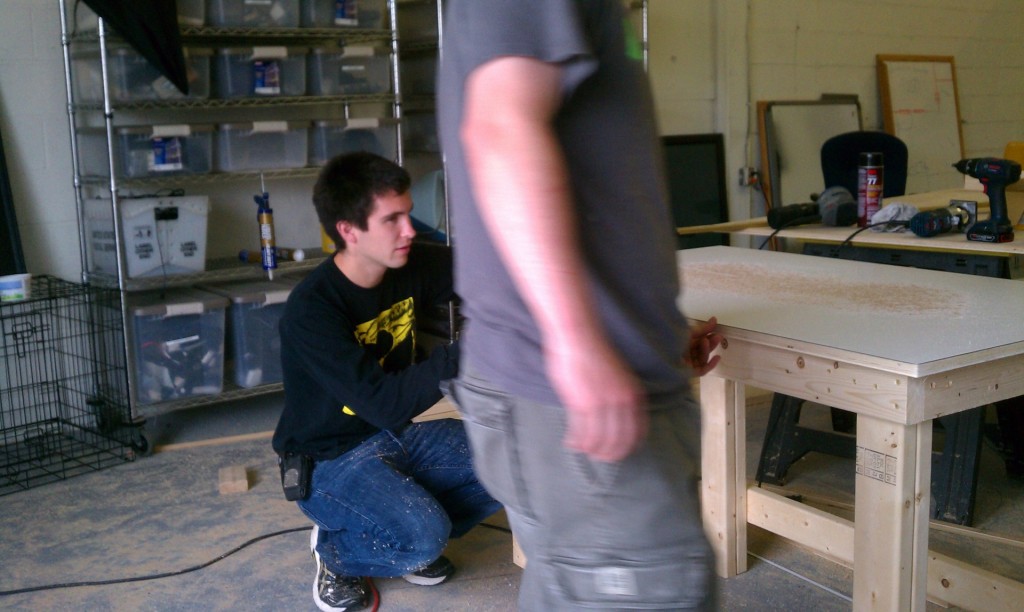
We need a place to work, so we built a few work benches. 40 2×4′s, 2 sheets of plywood and 2 sheets of laminate was just the right amount of wood to build 6 benches which are 32″ high x 30″ deep x 48″ long.
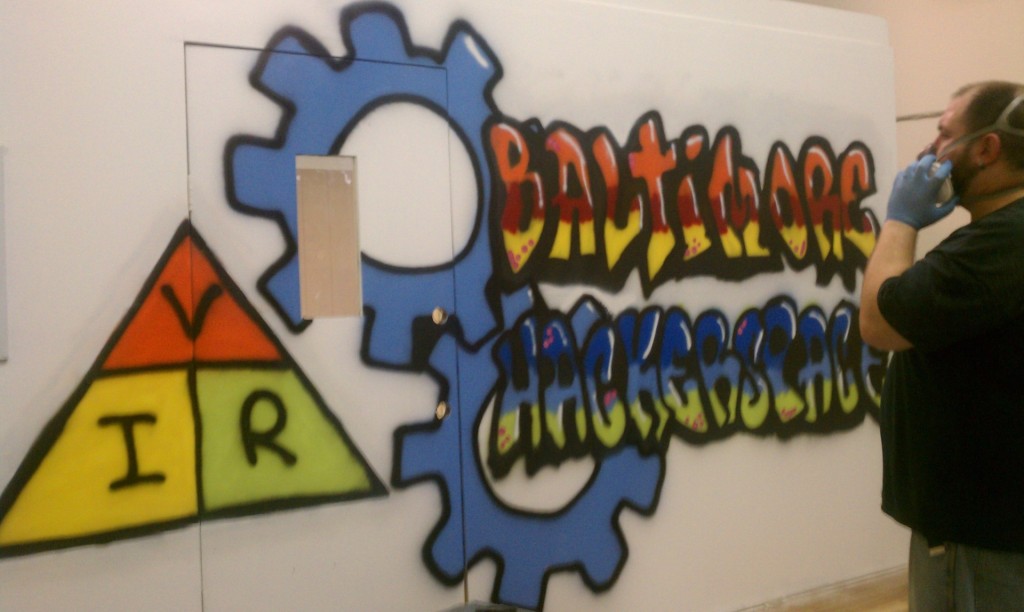
As you can see in the background, we have also moved much of our stuff into the space. That’s not all…We have really been hard at work in making this space feel like a warm and welcoming place to hang out and learn new skills. Paul King gave the place a slightly more social feel by adding a little graffiti to the newly renovated office wall.
Maybe that should be E=I*R but does it really matter? Google ‘Ohms Law Chart’ and you mostly find V=I*R as examples. Besides, it’s only paint so we can fix that! We plan to add a lot more electronics-related graffiti to the wall. I bet that Ohms law triangle will get used more often that people think…
For this year’s RedBull Creation competition, we had to incorporate a ‘Bullduino’ into the project of our choice. What is a Bullduino? It’s essentially an Arduino Uno shaped like the RedBull logo. So, we came up with the idea of creating a Telepresence Zen Garden. Sounds simple right? Well, it was actually more difficult than it sounds.
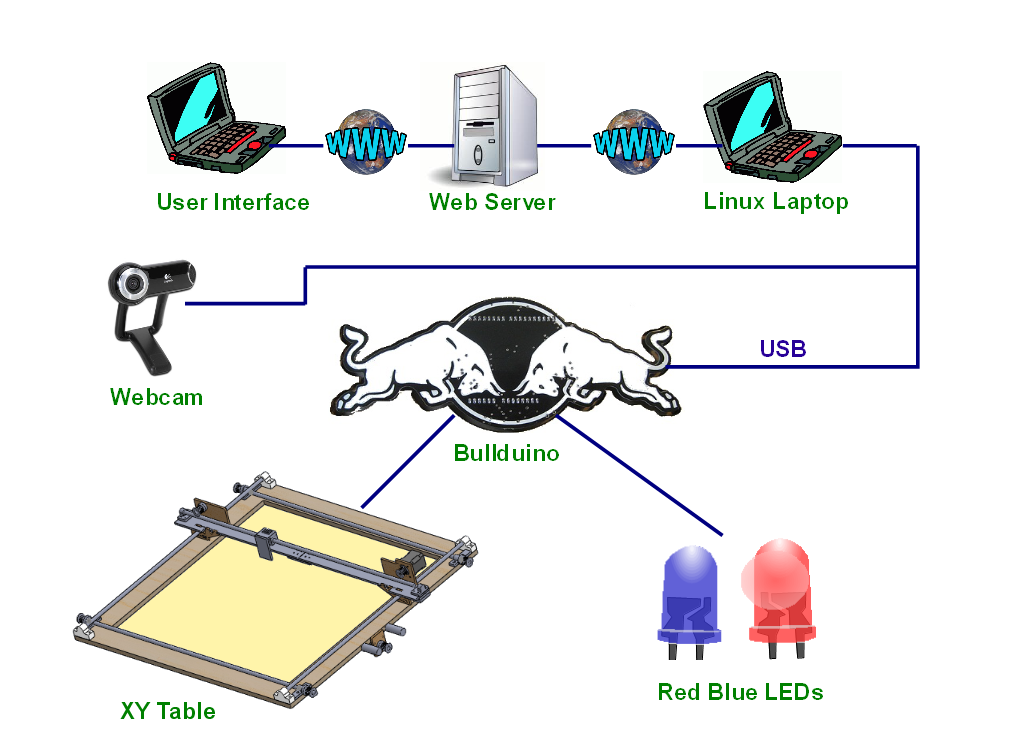
The diagram below shows you from a high level what we did. We created a user interface in Flash which allows the user to draw lines on a canvas. That data is uploaded to a web server and stored into a MySQL database. There is a queuing system written in PHP on the web server. The queuing system keeps track of the order in which the drawings are submitted and it is responsible for keeping the buffer full on the Bullduino. The connection between the web server and the Bullduino is a TCP socket which is forwarded to the USB-to-Serial connection on the Bullduino.
The linux laptop is running 2 things. It’s running socat which does the TCP to Serial forwarding and the Flash media encoder which streams a video feed back to justin.tv.
The Bullduino is connected to a rail of power mosfets to control turning on and off 8 banks of Red and Blue LEDs. It is also connected to 2 stepper motor drivers, 2 servos, and 4 limit switches. The limit switches are used to zero out the XY table and prevent damage to the machine should something go wrong.
One of the servos is responsible for raising and lowering the drawing pen. The other is responsible for raising and lowering the eraser bar. Here is a little video showing how the eraser bar works.
The entire system is powered by a modified ATX power supply which provides 12V for the stepper motors and 5V for everything else. The construction of the Zen Garden was a combination of hand cut MDF, laser cut wood and 3D printed brackets and pulleys.
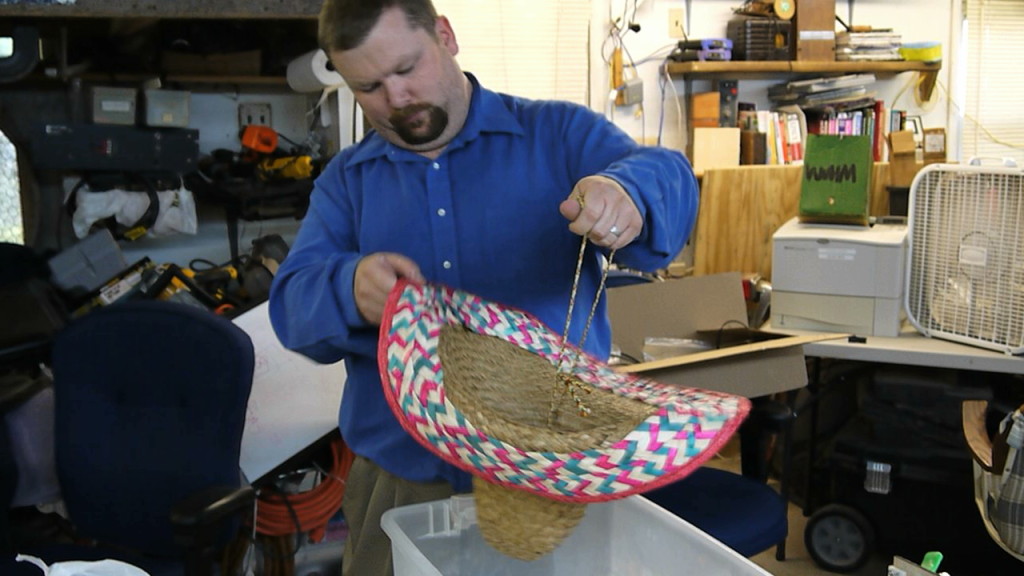
Finding the right sand was critical. A very fine grain sand provided the best detail. We settled on using 20lbs of Nature’s Ocean Premium White Sand from Petco. We experimented with different grain sizes and even mixed the smallest grain size with the larger grain sizes but this did not provide the detailed land and peaks that the Nature’s Ocean sand provided.
Note to self: sifting sand through a Mexican hat is not fun. Be sure to buy extra sand for experimentation.
Sure… anyone can go to the local store and buy a coffee maker with a timer. That was not good enough for our new member Ryan Merl. Keeping in the hacking spirit, Ryan decided to make his own internet controlled coffee maker. He installed a relay between the wall cord and the power switch on the coffee pot. The relay is controlled by his arduino. He used this tutorial as a guide. An ethernet shield is used to connect the arduino to the network.
HTTPCoffeePot can be connected to your arduino with an ethernet shield and attached to the network. It will listen on port 80, like a normal web server, and take several different request URLs to control it. The URLs return JSON with the intention that an AJAX interface will be built over it:
/status/ – This will return some information about the current status of the coffee pot
/start/ – This will start the coffee pot assuming that it is currently ready to be started and not started already
/stop/ – This will turn off the coffee pot
Currently the process will work like this:
Put in coffee grounds/filter/water
Press ready button to enter coffee pot into ready state
When coffee is desired, send /start/ request
Wait for coffee to finish
Send manual /stop/ request OR wait for timed automatic shut off to take place after 15 minutes
I have a very simple coffee maker which is really only a switch. The modifications I made to the pot were to cut the power inside of it between the wall and the switch on the pot and place a relay in between. The relay is then activated by the Arduino board when sent the /start/ request.