
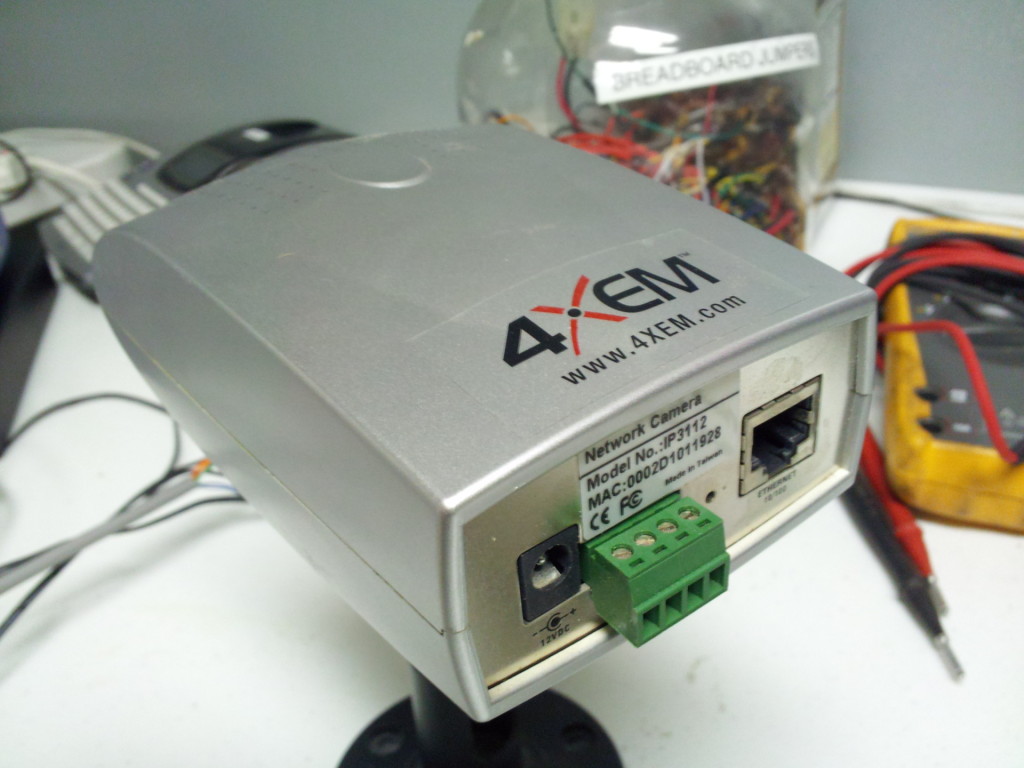
Power over ethernet, sorta
So we’re still busy decking out the new facility and one of the things we wanted to get up and running is some cheap surplus ethernet cameras to … keep an eye on things and check out whats going on remotely. So I thought I’d go ahead and set these guys up.
First thing up was to make some cat5 cables. I got a cheapo crimper, cable tester, and connectors off eBay. While trying to figure out how much cable I need to run I was thinking about how I’m going to plug the cameras in to supply power. They have wall warts with barrel jacks running 12 volts. I started thinking about how power over ethernet works and thought I’d try to see how I can do the same thing to run the power to the camera. These aren’t POE cameras so the idea was to only half crimp the connectors, and use the unused pairs to run the 12 volts.
Here is the layout of how cat 5 cables should be done. Credits to wikipedia.
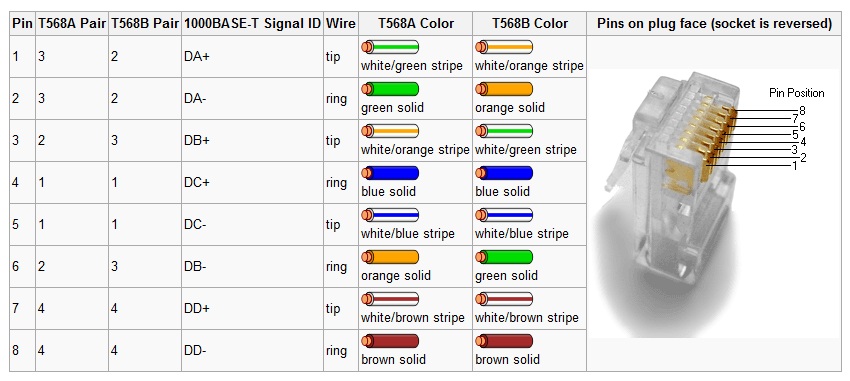
So there are 2 color coded standards for crimping cables, but oddly enough, the ones we care about are blue, blue/white, white/brown, and brown. Pins 4, 5, 7, 8. These pins aren’t used in 10/100 connections, however if it was gigabit then they would be used. So the unused pins are the same on both standards, so I just chose the first one.
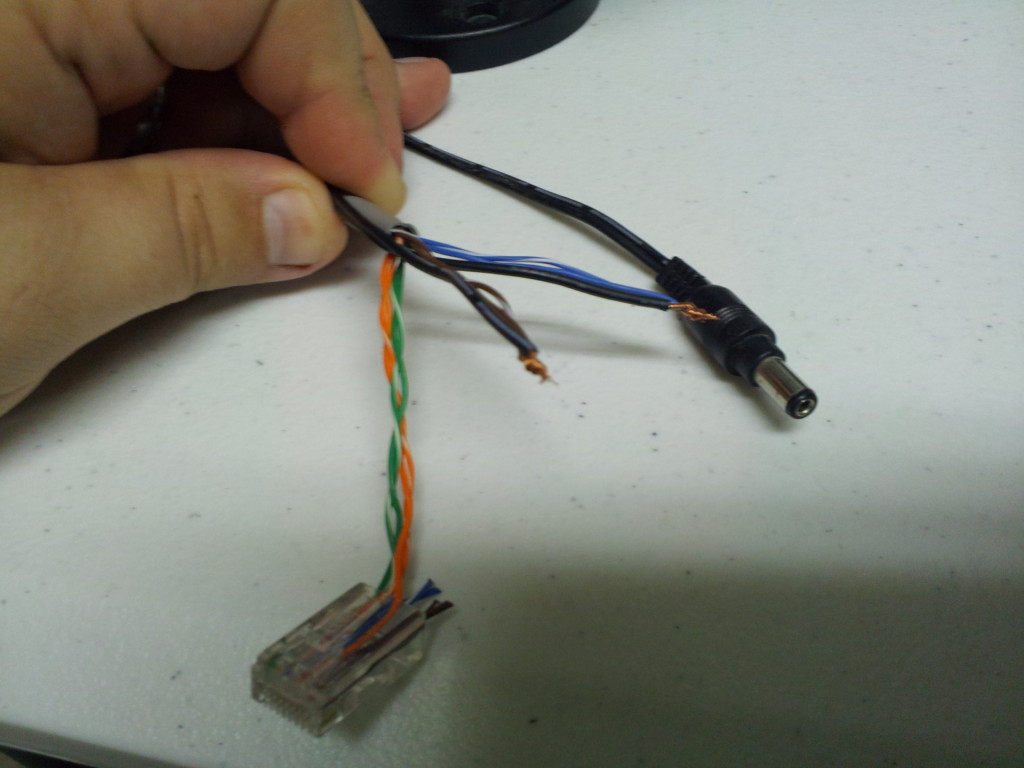
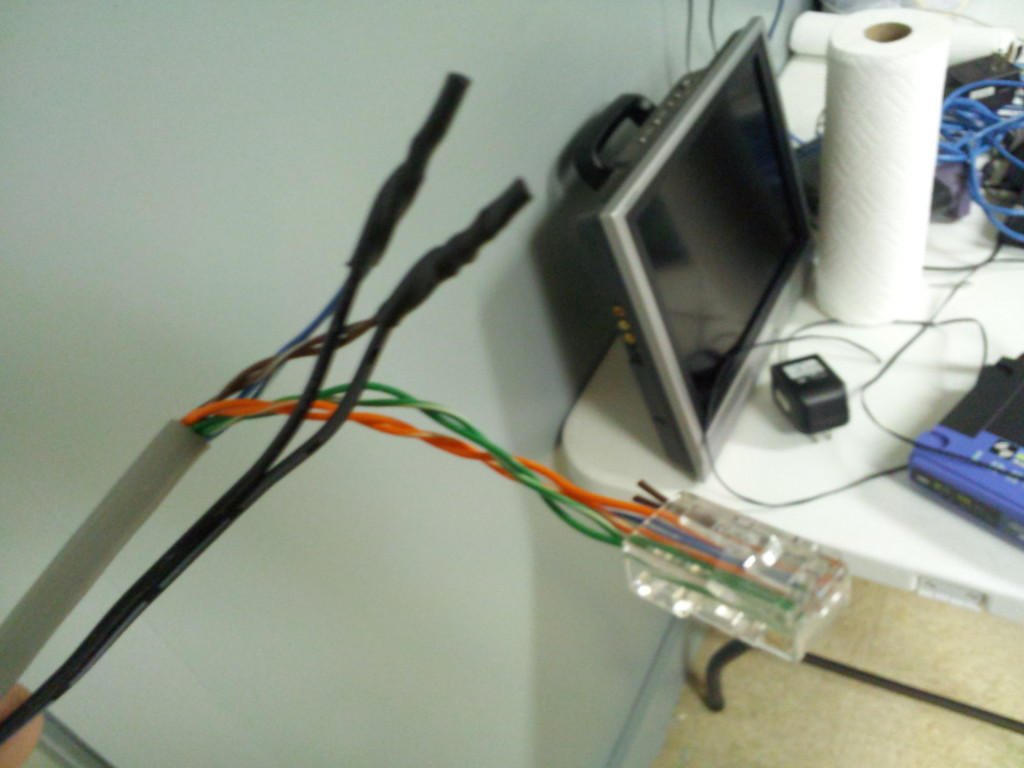
Originally I thought I was just going to crimp 4 wires, and leave 4 wires dangling. This became very difficult so instead I just left a bunch of shielding and crimped both ends like normal, tested it with the cable tester to make sure it was getting good connection, then finally snipped off the wires that we’re going to use for POE. That’s Blue, Blue/White, Brown/White, and Brown. With those wires cut off, I was still able to link up at 100mbit so I felt good about that. Next I took cut the barrel connector off of the original adapter and twisted it onto the end of the cable like so. Using 1 pair for positive, and 1 pair for negative.
So the idea was to connect the wall wart to the other side which I tested with a multimeter for the correct polarity before plugging it in. Since I was planning on running multiple cameras, instead of having to plug in multiple wall warts for multiple cameras I remembered we had a 12v 6a 3 port power supply that came out of a AMX cabinet. It has 3 12 volt ports with phoenix connectors. I swapped the wall wart for the 3 port power supply and tested it up using the good ol linksys wrt54g.
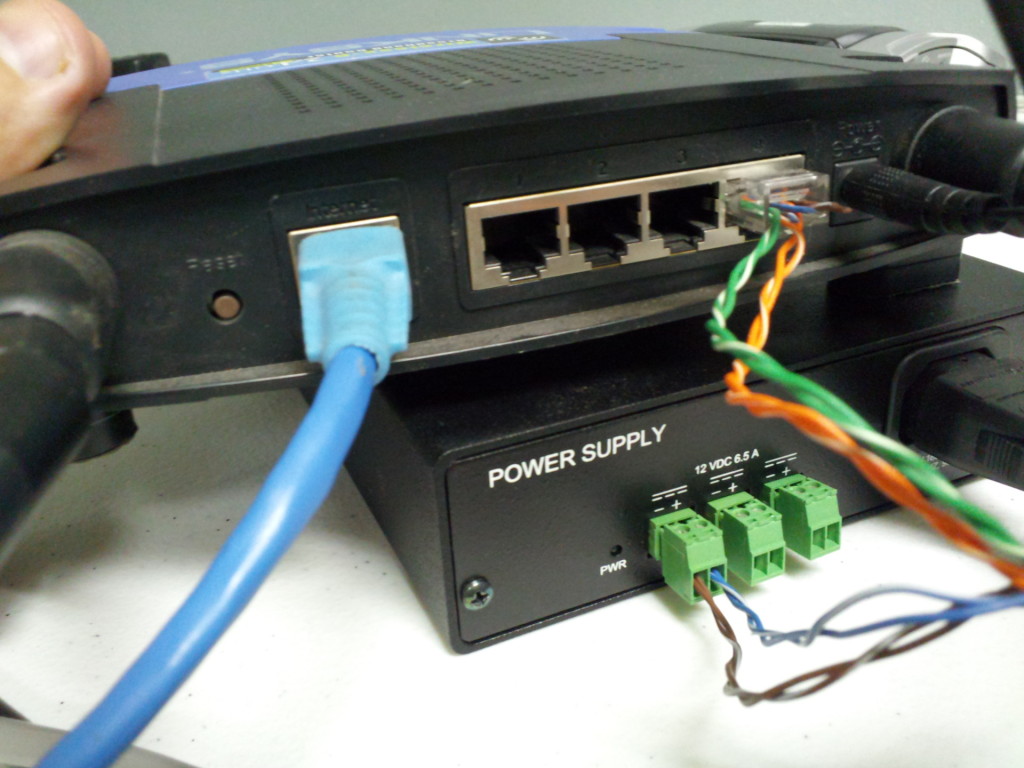
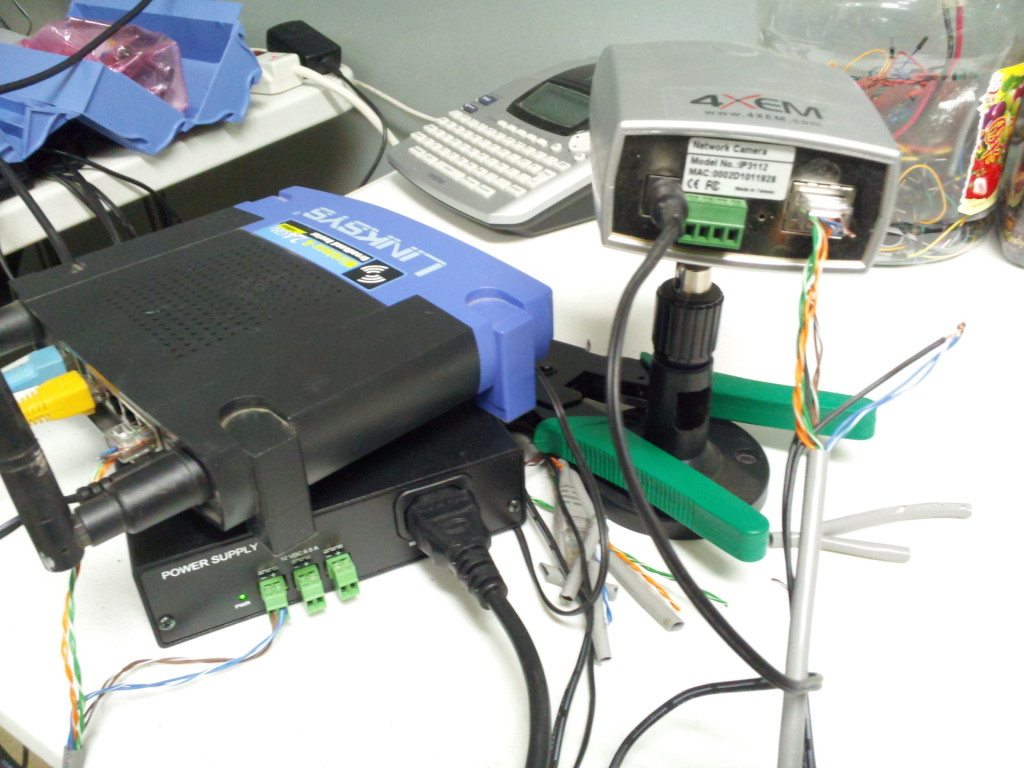
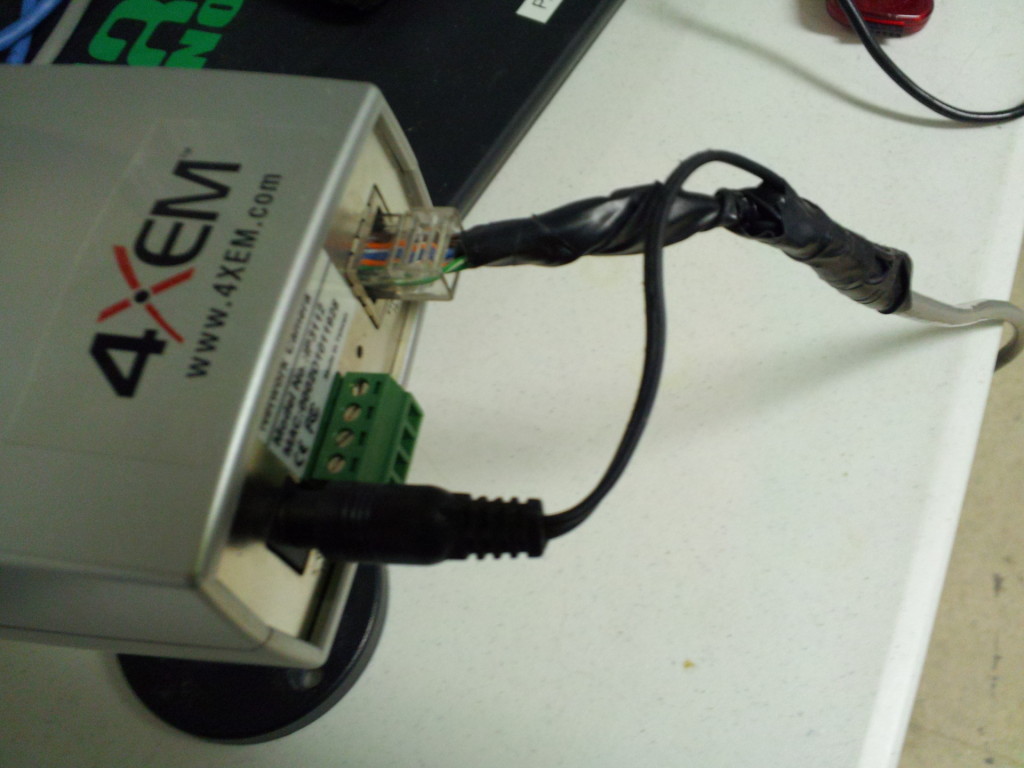
Plugged everything in, everything powered on and I was still getting 100mbit link to the cameras. So the only thing left to do was to shrink wrap the wires, and add a little electrical tape for stability.
Finally the only thing left to do is physically mount the cameras and set up zoneminder on the server. Some closing notes, I ended up setting up a the 3rd port on that 12v power supply to run the wrt54g router, that way I only use 1 power plug on an already running power supply to run the 2 cameras and the router. Also you may notice the phoenix connector on the camera, the datasheet says these signals are only used for triggering alarm stuff, not for power or I would have used them instead of a power barrel.
