
IKEA weekend light fixture hack
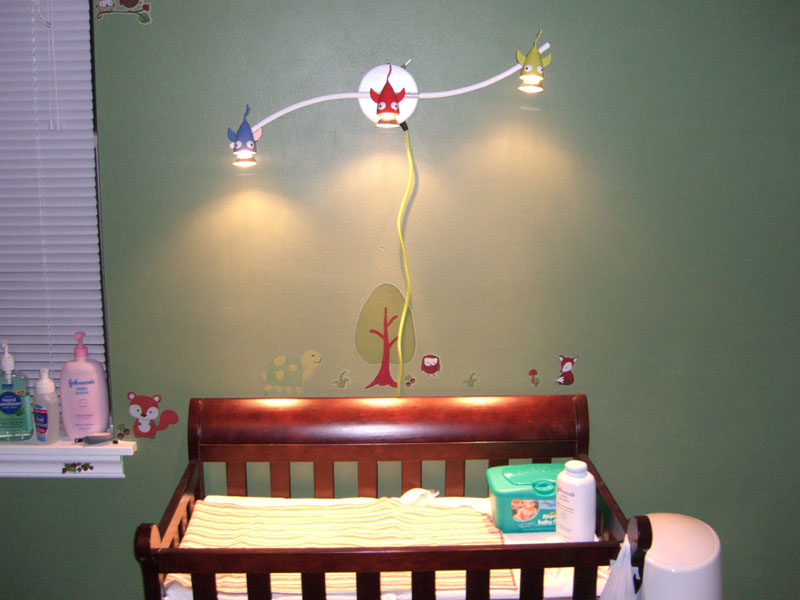
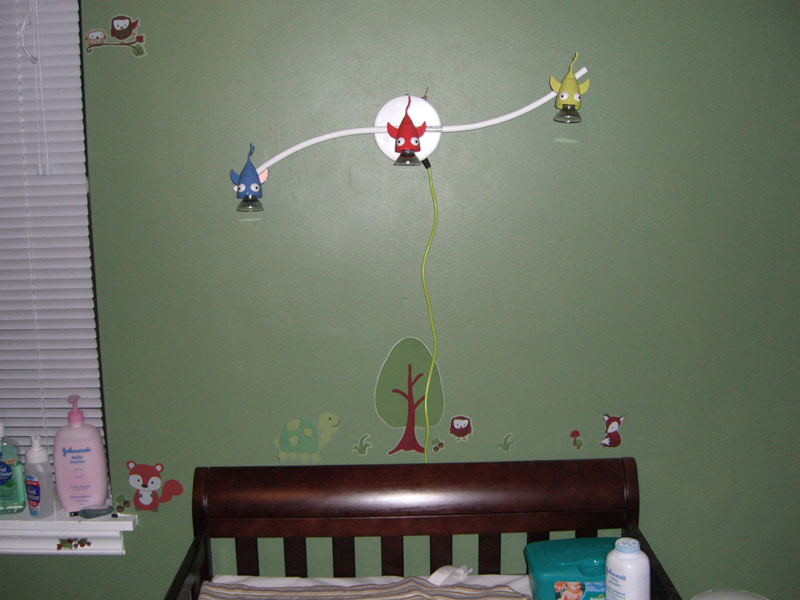
In my sons nursery, we have the changing table against the wall. The problem is the only light in the room is in the middle of the room from a ceiling fan. So basically while your changing him you are blocking the light with your body.
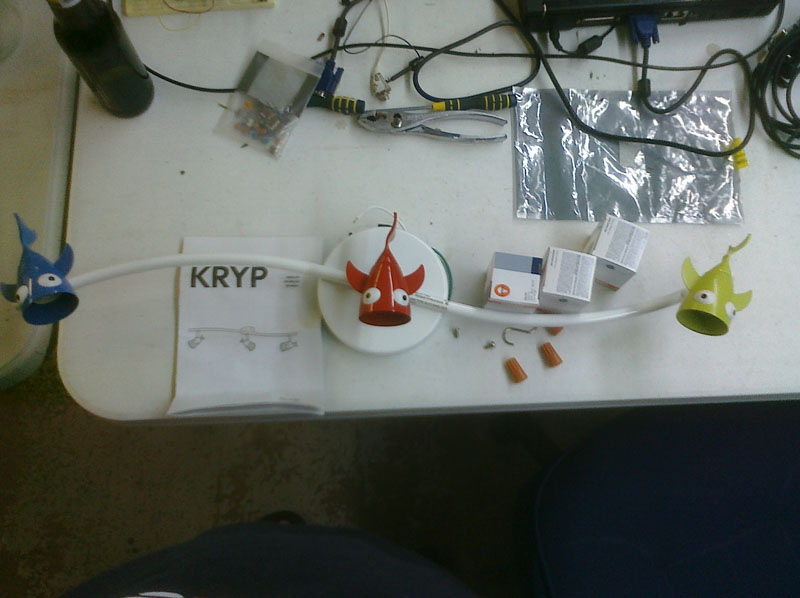
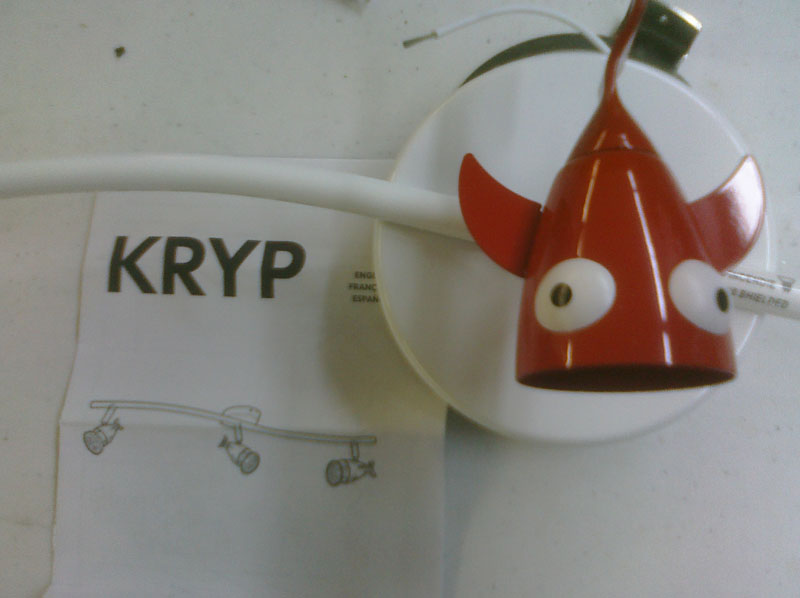
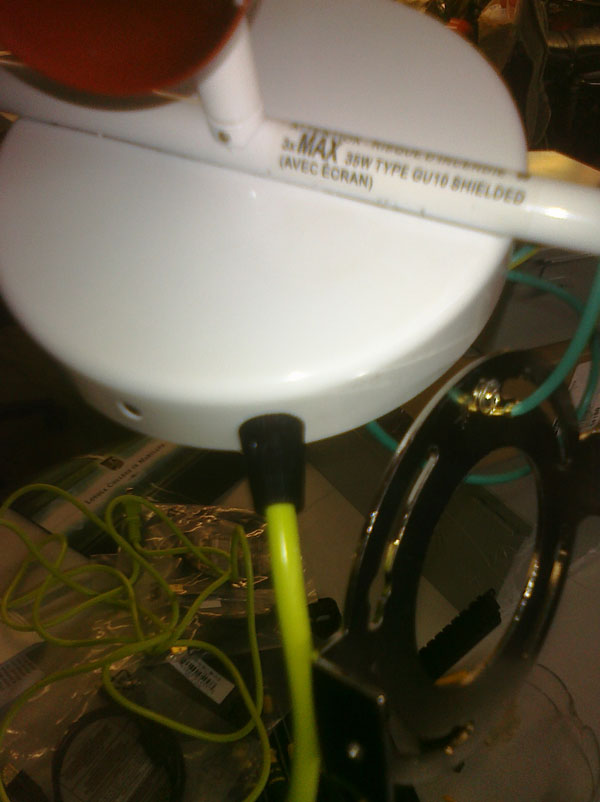
So me and the wife went looking for a light to add to his changing table, we found one at IKEA that we like but it’s a ceiling mount light with 3 individual 35 watt flood bulbs, with cartoonish fish as the housings. I’m not about to drill a hole in the ceiling and install a wall switch (as the instructions state it’s supposed to be installed), so we looked around for something else but nothing caught our eye.
I decided to just get this fixture, and hack it.
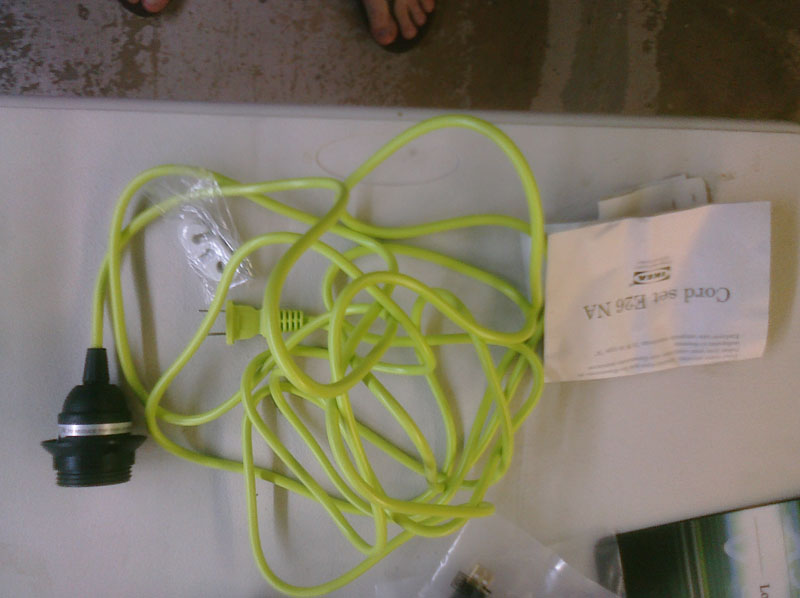
In the lighting section of IKEA they have some DIY lamp kit, I just needed a cord since I’m going to be plugging this in the wall, and they’re pretty cheap. So I grabbed the neon green one since it looks cool.
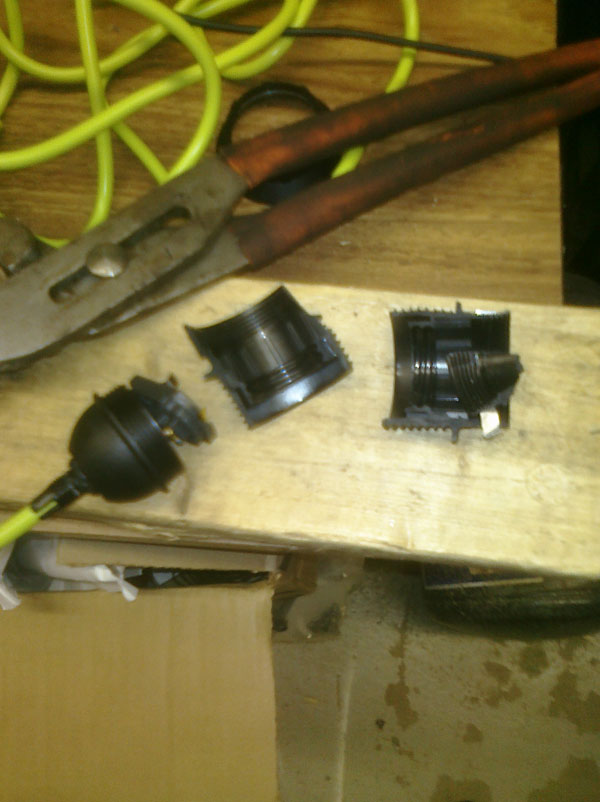
First thing I did was open everything up to see what we are dealing with…

The first part to tackle will be the cord, Unscrew the cord lock, slide it down.
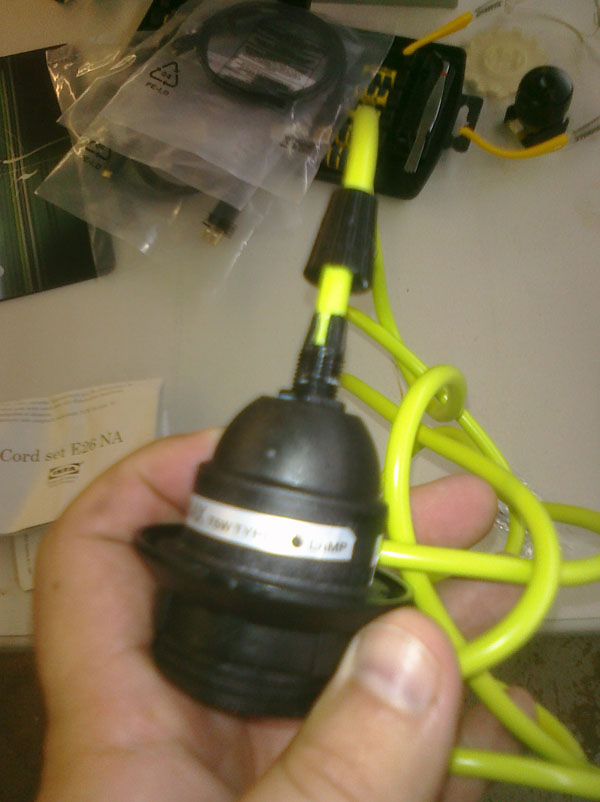
Unscrew the lamp shade holder, then begin to crack the plastic housing.

Continue using pliers / snips to cut the plastic down to a little nub.
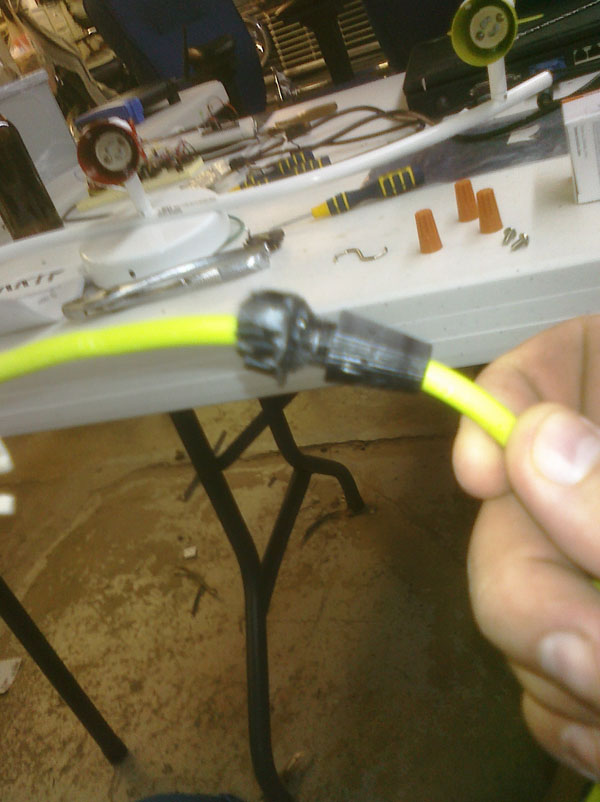
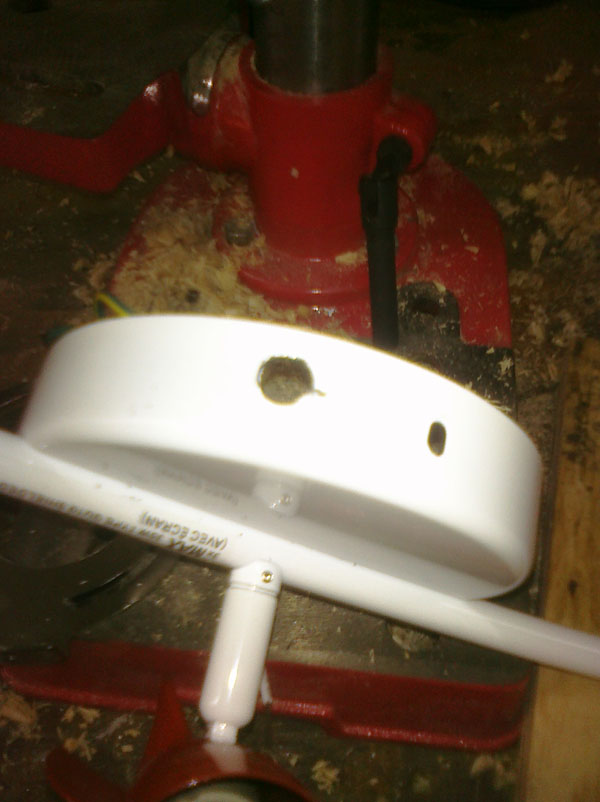
Next thing to tackle is the light housing. A 3/8 drill bit should let you slide the plastic housing threaded area through but not the nub. (slide the wire completely out, then stick the nub inside the housing and point to the outside. You can then slide the wire and the wire nut back on and tighten it… You now have a nice clean wire grommet. This also helps keep the insides from pulling out if it were to be tugged on. You can wrap the wire on the inside using the existing square jig.


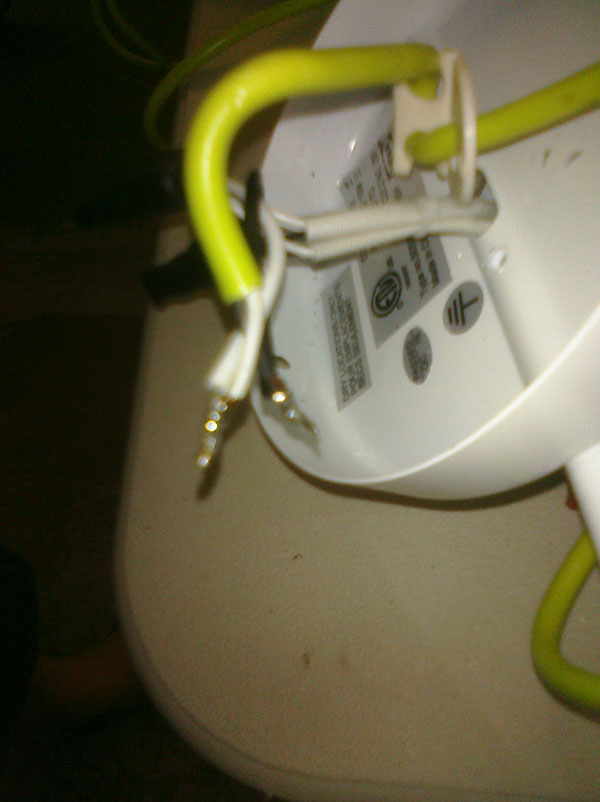
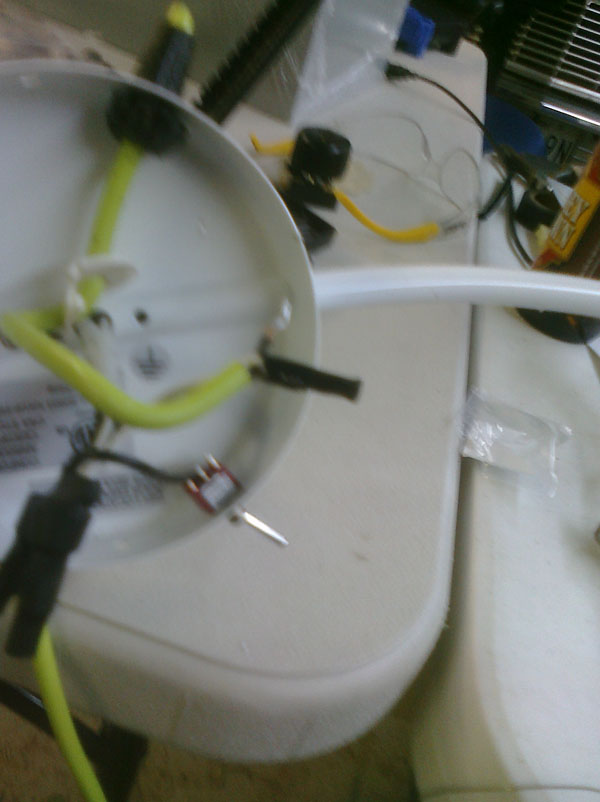
Next step would be to remove the grounding wire. The cord from IKEA is only a 2 wire, and the ground wire precaution is usually because its an installed fixture. If you have a 3 cord wire with a ground plug, feel free to connect it. Mine doesn’t, I’m removing it.


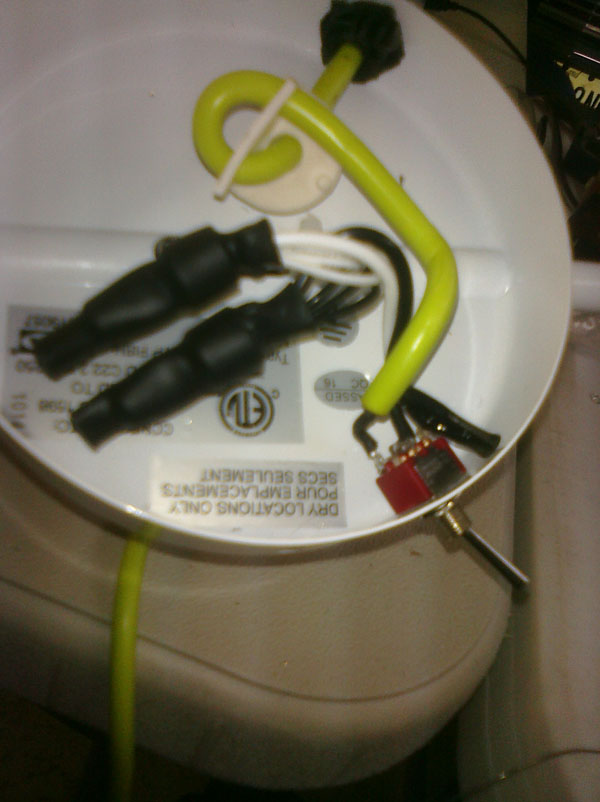
You can next start to solder one of the pairs of wire, either the whites or the blacks. After you solder it, its a good thing to use some shrink tubing on it to keep it from touching anything else.
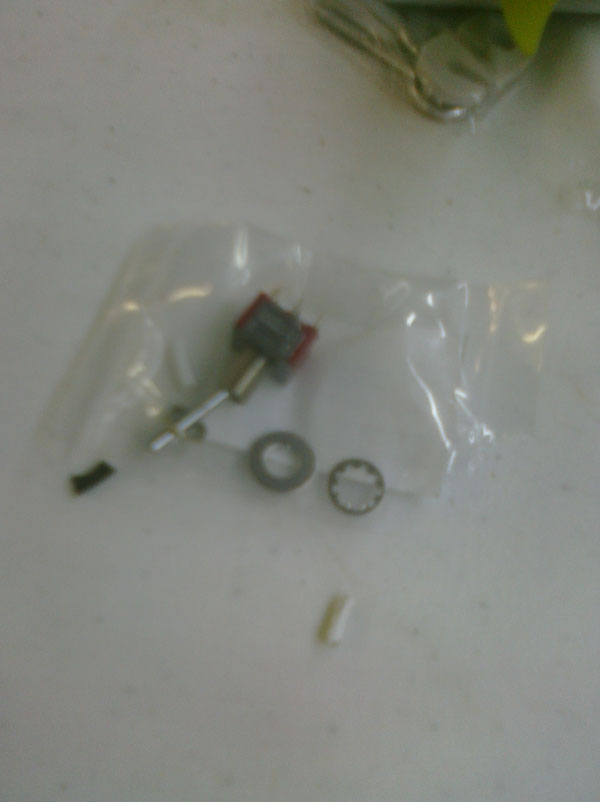
Then it’s time to get a switch, make sure its rated for at least twice the current draw of the lamp @ 120 volts… in this case we have 3x35w bulbs, so my 3 amp switch is fine. Solder 1 of the other color leads to one side of the switch, then the other wire of the other pair to the other side of the switch. Finally we need to mount the switch. In my case I needed to drill another 1/4 hole, and the switch came with mounting hardware.

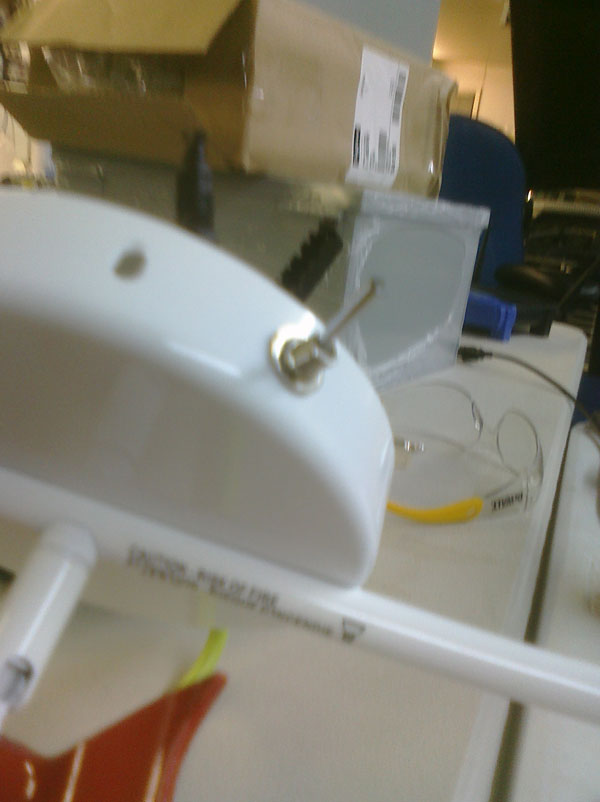


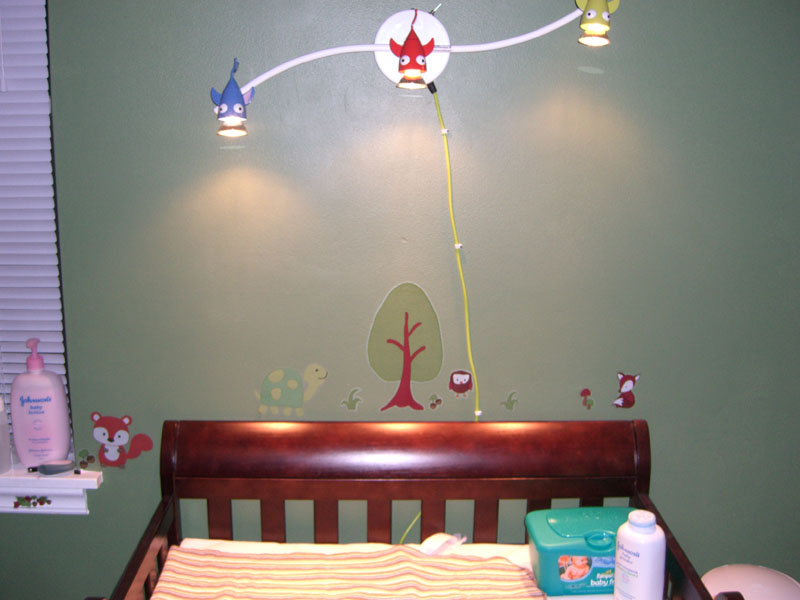
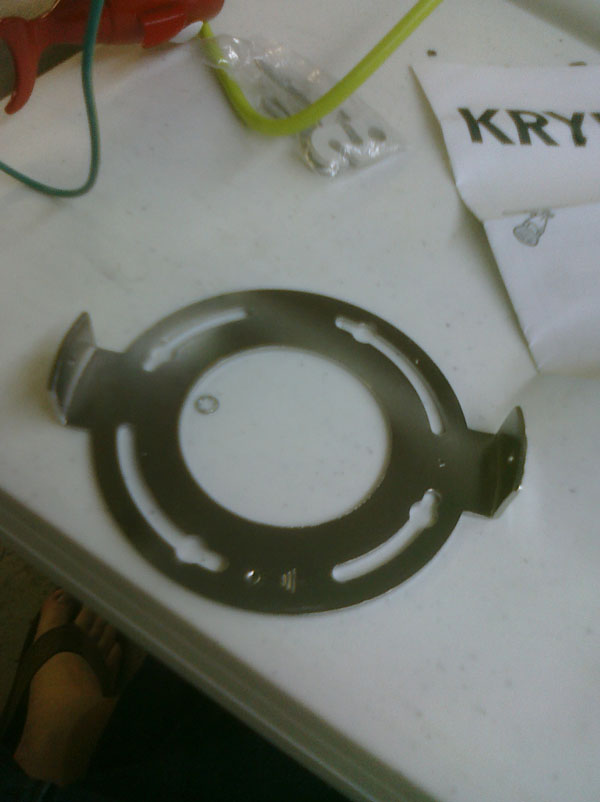
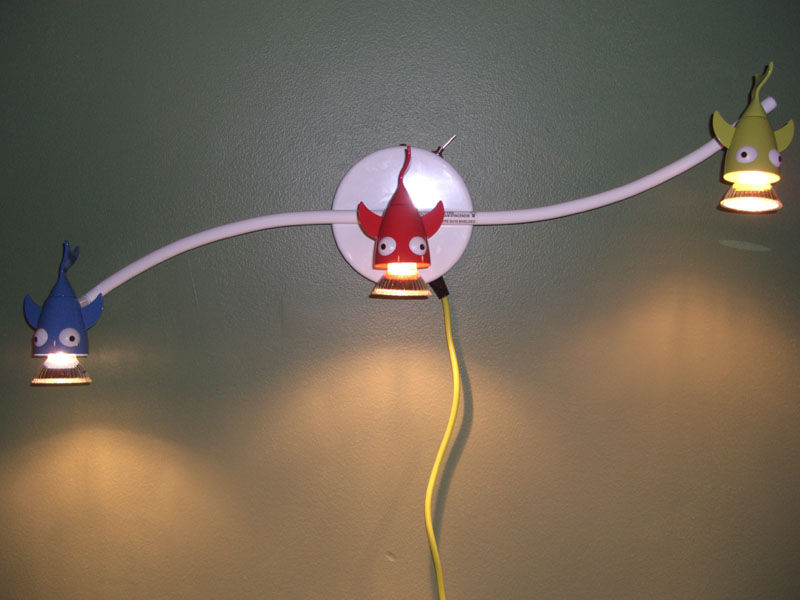
It’s a good idea to double check your wiring and plug it in the wall and test it make sure its fine. Now we screw in the mounting plate to the wall, and mount the fixture.

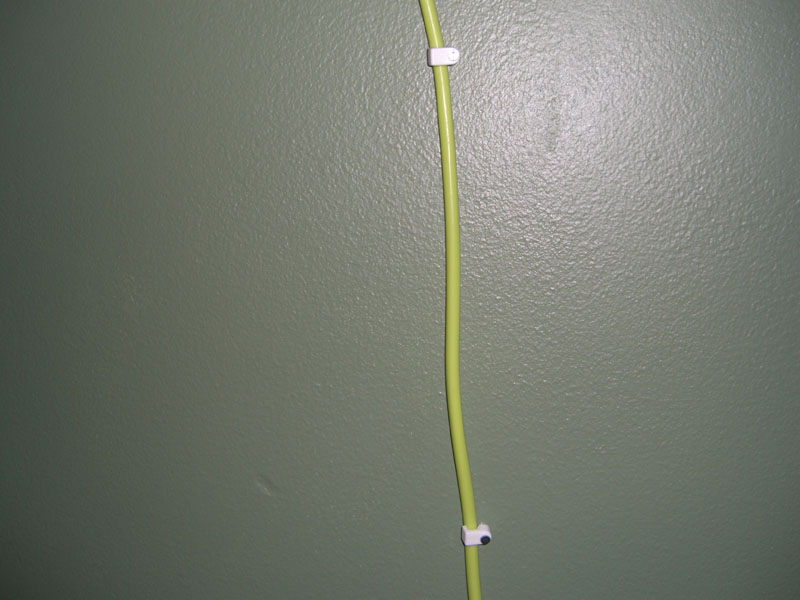
Lastly some cable mounts to keep the cord safely adhered to the wall, and routed to the outlet are nice.

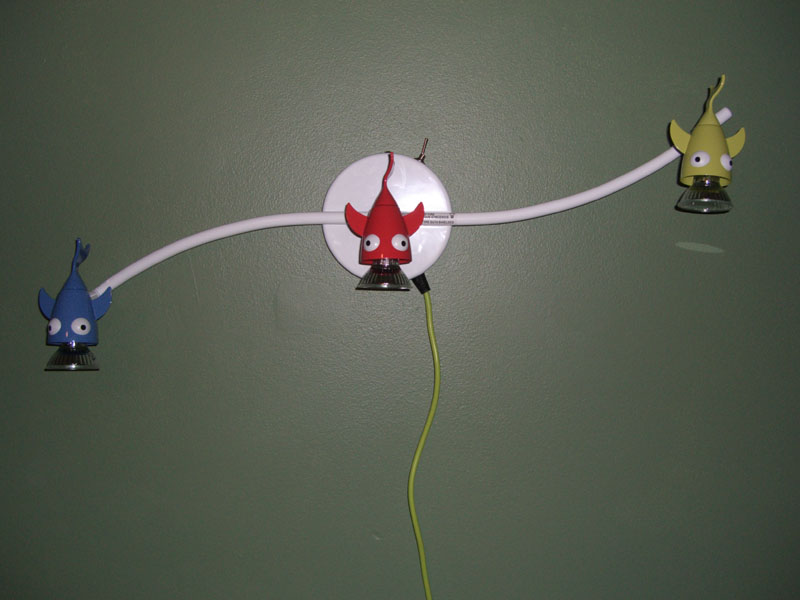
And there you have it. A fixture that was meant for ceiling mount and to be a permanent fixture converted into an easily movable non-permanent lighting fixture.
Basically the rule to learn here is while your out looking buying products, its important to look past what it is, and try to envision how you can turn it into something better.


Comments
[...] See more of the wall mounted fixture. [...]
I love this, thanks. I am always looking past what things are to what they can be, but i have to say, it makes shopping exhausting some days. Good job.
[...] See more of the wall mounted fixture. [...]
i was just pondering this same exact thing before lol, great post
[...] See more of the wall mounted fixture. [...]
I simply wanted to develop a simple word in order to appreciate you for some of the nice information you are showing at this site. My long internet lookup has finally been compensated with brilliant knowledge to exchange with my family. I ‘d tell you that we website visitors are undeniably lucky to live in a great network with very many wonderful people with great points. I feel really happy to have encountered the website and look forward to really more pleasurable moments reading here. Thank you again for a lot of things.